Chicken owners know that coop maintenance is the first thing to do in the spring before the garden becomes green and the trees leaf out. The next great cleaning should be in the fall to provide fowl with airy space and clean nests to spend cold months comfortably.
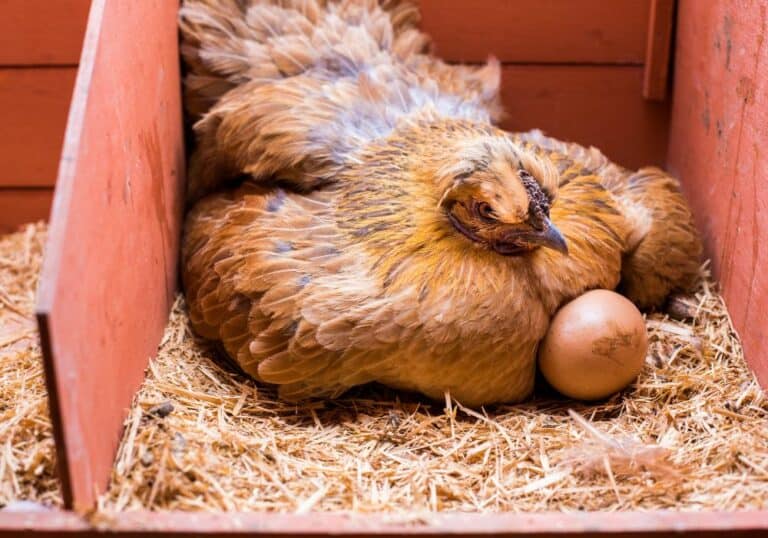
Chickens, particularly hens, hate spending time and laying eggs in dusty and dirty places. Therefore, you should find a proper way how to clean a chicken coop. Besides, regular disinfection is crucial to protect your flock from various diseases by killing bacteria and common parasites like mites and flies.
Coop maintenance schedule |
|
| Period | Procedure |
| Daily | Bedding replenishment and minor cleanings as needed |
| Weekly | Wall dusting, cobwebs removal, bedding replacement, and feeder and waterer washing |
| Monthly | Regular coop cleaning, including roosting bars scraping |
| Half-yearly | Deep cleaning of the entire coop |
Cleaning the Chicken Coop
There are two ways to clean your coop, with a commercial or DIY cleaner. Take care to avoid harsh chemicals whenever possible. Following a few steps allows finishing the job successfully and without skipping over crucial parts of the procedure.
Assess the situation
Estimate a situation and determine necessary tasks to finish and priorities. Then, check potential problems and define ways to solve them.
Tool
Chicken coop deep cleaning requires adequate tools, such as:
- Broom, scoop, shovel, rake, and pitchfork
- Wire brush or stainless steel scraper
- Scrub brushes in several sizes
- Bucket, sponge
- Cotton cloths and paper towels
- Natural cleaning spray for cleaning windows
- Plastic or paper garbage bags
- Hose or pressure washer
- Repair tools, including a hammer, drill, pliers, wires, screws, nails, steel wool, and wood planks
Protective gear
Plastic sheeting – Always place plastic sheeting on the ground to collect droppings and debris.
Dress appropriately – Only adequate protective gear minimizes direct contact with potentially harmful droppings and grime. Therefore, you need the following:
- Disposable gloves to reduce the risk of bacteria spreading
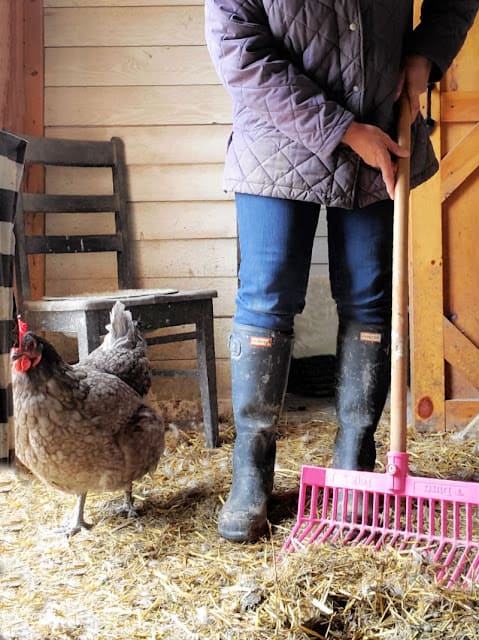
- Waterproof (rubber) boots to protect your feet and prevent spreading dirt from a chicken coop to your home
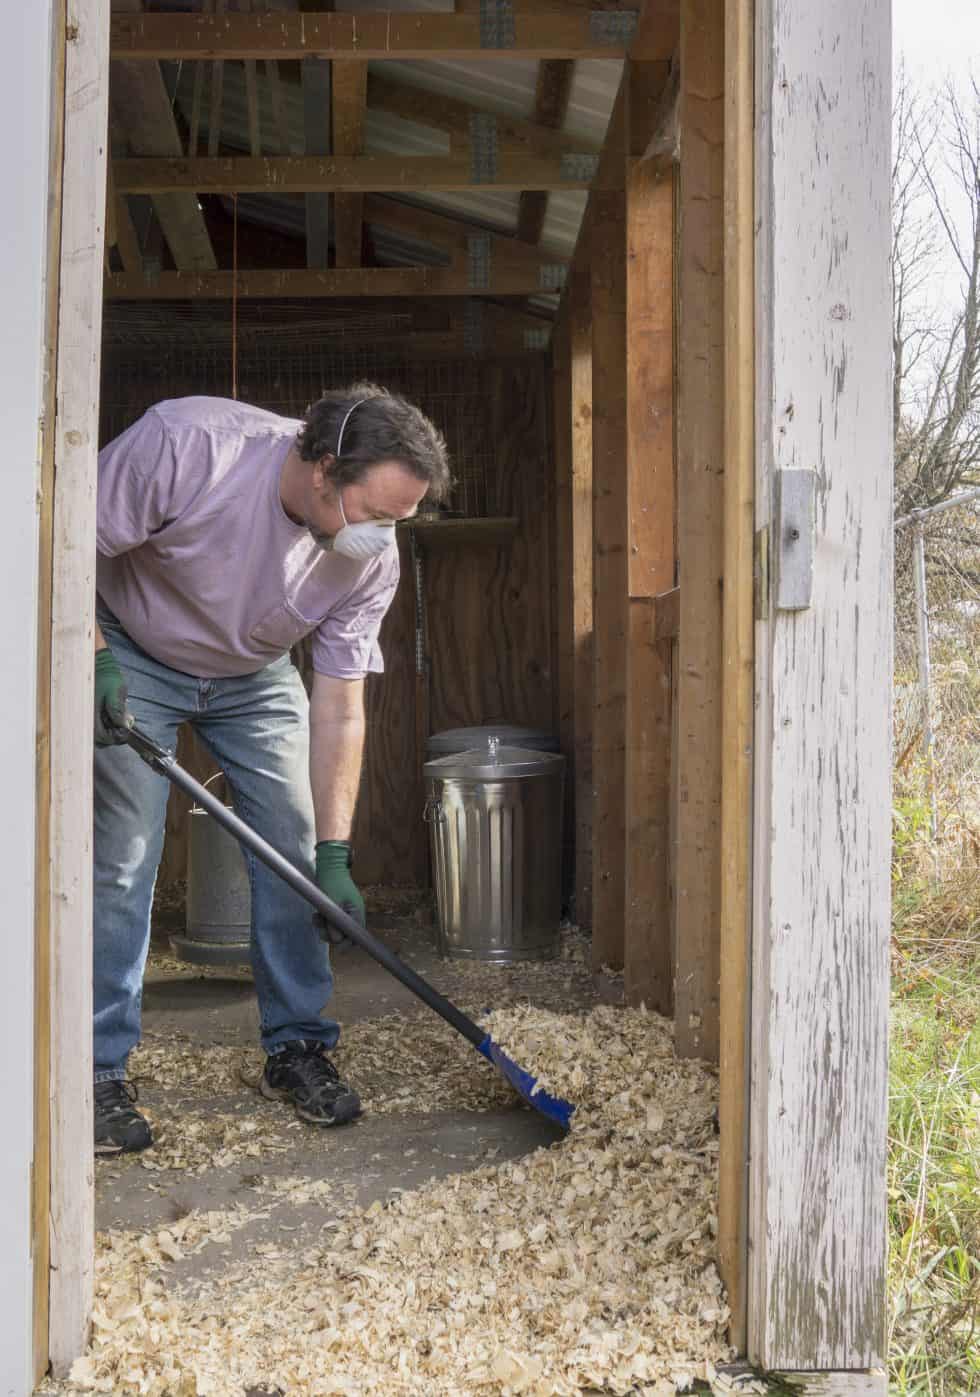
- Disposable respirator mask to prevent inhalation of dust and potentially present microorganisms, particularly bacteria (Salmonella and Campylobacter) and fungal spores (Aspergillus)
- Clean but tattered jeans and old shirts
Choose the right cleaner
Nowadays, you can find numerous commercial coop cleaners, but you can also make one yourself. Take care to pick out a nontoxic, pleasantly-smelling product and avoid aerosol sprays.
Never use ingredients like creosote, ammonia, and bleach to prevent creating toxic fume and consequential lung and eye irritation. In most cases, a combination of several cleaning products of different strengths is an excellent solution to keep various coop parts clean.
1. DIY cleaning solutions
Make a DIY efficient, affordable, and safe cleaner and use it whenever possible. Your best options include the following:
Lemon vinegar solution – Add the peel of one lemon and ten drops of lemon essential oil to a mix of one cup of white vinegar and the same amount of water. Fill a spray bottle and use it for cleaning.
Lavender vinegar solution – Drip 3 to 5 drops of lemon essential oil and 5 to 8 drops of lavender essential oil into one cup of water and add one cup of white vinegar. Fill a spray bottle and start cleaning.
Vanilla and olive oil – The base of this homemade cleaning spray consists of three cups of water, one cup of olive oil, one teaspoon of vanilla, and three tablespoons of dishwashing liquid. Add tea tree or eucalyptus essential oil as desired, fill a spray bottle, and use it after thoroughly shaking the mixture.
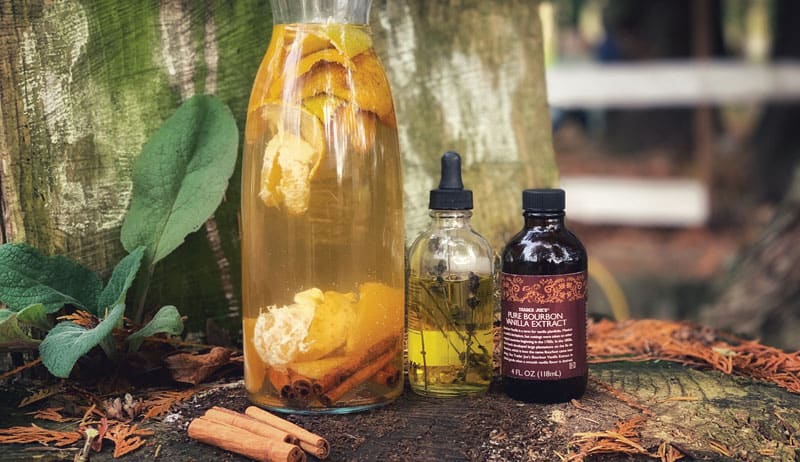
Orange cleaner – Orange coop cleaner is one of the best natural cleaners for nesting boxes and windows. Fill 3/4 of the jar with white vinegar and add orange peels and a few orange sections.
Then, put in a tablespoon of lavender essential oil, three cinnamon sticks, and one tablespoon of vanilla. Shake the mixture well, let it sit for a week, strain it, and pour a liquid into a spray bottle for use.
Diatomaceous Earth – Spread the DE over the dry coop floor to prevent parasites from attacking the flock. This fine fossilized alga powder (diatoms) successfully solves digestive worms, mites, ticks, and fleas infestations.
2. Commercial chicken coop cleaners
Finding an excellent commercial chicken coop cleaner can be challenging because of the wide range of different products. Therefore, you should consider a few things before purchasing, including:
- Chicken coop size
- Cleaner coverage area
- Efficacy, ease of use, and chemically-free
- Absence of harmful ingredients, including potential allergens
The best coop cleaners you can find on the market are:
- MICROBE-LIFT cleaner for a coop
- Absolutely Clean pest repellent and cleaner for a coop
- Sweet PDZ odor neutralizer
- Chick Fresh spray for odor control
- Sweet Coop (zeolite) moisture absorber
Cleaning procedure
Step 1. Remove chickens
This step is crucial to make the entire cleaning procedure more effortless and efficient.
Step 2. Remove movable parts from the coop
Make it easy on yourself by removing everything you can, including the drinker, feeder, nesting boxes, dust baths, and toys.
Step 3. Shovel out all the bedding and clean the floor
Use a wide manure shovel, floor scraper, and wheelbarrow to remove dirty bedding. Mix it with soil or add it to a compost bin before using it in the garden. Never spread chicken manure directly to plants to prevent burning.
Use a quality broom to remove dust from the corners, vents, ceiling, and walls, and wash windows. Then, clean nesting boxes with a brush and soapy water.
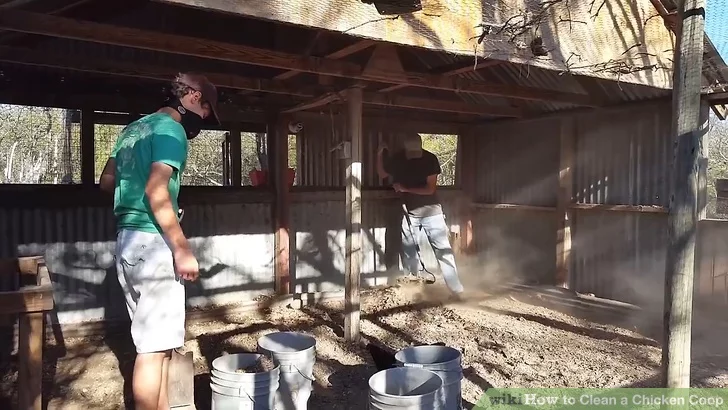
Step 4. Washing
Apply a quality cleaner and let it sit for 15 to 20 minutes. Then, use a hose or pressure washer to soak all surfaces and remove dust and leftover scrapings. Take care to soften poop and then use a brush to remove it. Finally, rinse all surfaces until they are entirely clean.
Step 5. Drying
This step usually takes time, depending on a coop’s size, amount of water used, and weather. The best option is to let all surfaces dry naturally in the sun, but you can also use box fans instead.
Step 6. Inspect for possible damage
Carefully check the coop while drying, repair wall holes and roof leaking, and reinforce nesting boxes when necessary.
Step 7. Wash removable parts
Use detergent, lukewarm water, and a scrubbing brush to wash feeders and drinkers and then rinse them thoroughly.
Step 8. Disinfection
The sun dries and disinfects chicken coops perfectly, but you can also use Diatomaceous Earth or a commercial MAF-approved sanitizer. Then, spray nests, ceilings, floors, a door, window frames, and equipment with neem oil or an insecticide.
Step 9. Add fresh bedding and litter
Add pine shavings, sand, hay, straw, or sawdust to the coop floor to absorb chicken poop and keep the coop smelling fresh.
Step 10. Put everything back
Since chickens hate changes, you should try to put everything back in its place. Otherwise, you may cause a mess for a few days until they get used to the new order.
Step 11. Final steps
Clean, rinse, dry, and disinfect dust baths and dustbins. Then, remove leaves, rocks, hay, and straw from a chicken run and use a rototiller to loosen a top layer and make it soft for chickens. Finally, let the chickens back inside the cleaned coop.
How Often to Clean a Coop?
Keeping a chicken coop clean plays a vital role in your poultry life for a few reasons, including:
- Flock hygiene
- Disease prevention
- Preventing odor
Therefore, maintain it regularly and finish particular tasks in the appropriate time frame. Remember that the litter change schedule depends on the type you have and its depth.
Standard litter – It is typically made of 4 to 6 inches (10 – 15 cm) deep pine shavings. It requires removing dirt parts weekly and more thorough cleaning once a month.
Deep litter – It is a created compost made of chicken poop covering the coop floor. It is necessary to apply layers of pine wood shavings and droppings for two months to get excellent compost. Removing it twice a year, like other litter options, is unnecessary.
Cleaning schedule
Daily tasks include:
- Picking up eggs
- Cleaning a bit when needed
- Replenishing bad bedding occasionally
- Inspecting a coop area for weather and predator damage
- Quick check flock health
Weekly tasks include:
- Dusting walls and removing cobwebs
- Cleaning droppings, removing old litter, and sprinkling sanitizing powder over the floor
- Refreshing and replenishing bedding in nest boxes
- Washing and disinfecting feeders and drinkers
Monthly tasks include:
- Dusting, wiping doors, washing windows
- Roosting bars scraping
- Replacing damp bedding
- Removing extra manure from the floor and flattening the ground
Half-yearly (deep clean in spring and fall) tasks include:
- Deep cleaning of the entire coop
- Removing bedding, debris, feather, and food leftovers from the coop
- Thorough cleaning and disinfection
Besides regular deep cleaning twice a year, you should practice regular maintenance in the following situations:
- Before introducing new chicks into a coop
- After a disease outbreak
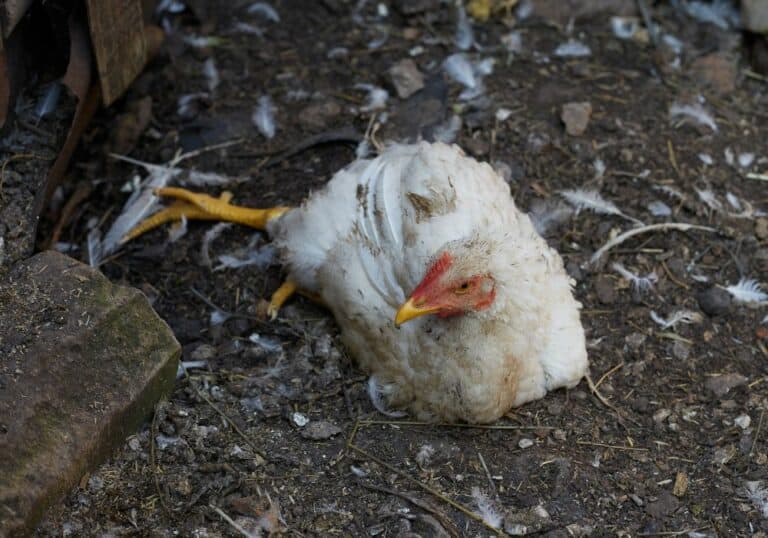
- When chickens avoid the coop because of accumulated wet and smelly droppings
Summary
Cleaning a chicken coop is tiring and time-consuming, but it benefits your flock’s health and well-being. Removing droppings, cleaning the coop inside, changing beddings and nesting boxes, and final disinfection are crucial to providing a healthy and parasites-free environment for chickens. Consequently, you can benefit from the meat and eggs your chickens produce.