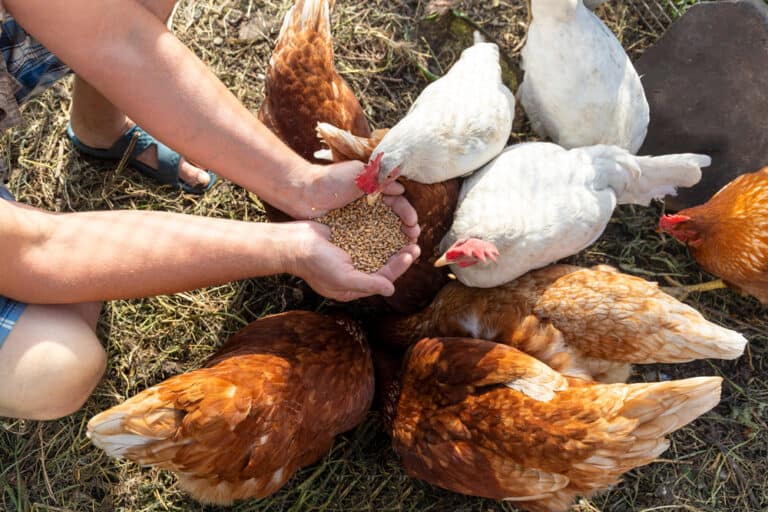
Cleaning chicken is an essential part of preparing it for consumption. Even if you don’t process your own birds, you should know how to clean a whole chicken to ensure proper food safety and preparation.
In most instances, cleaning a chicken involves removing the internal organs and trimming fat off of your meat. Additional steps may be required if you’re working with a freshly processed bird or if you intend to wash the chicken afterward.
Cleaning a chicken is straightforward and often turns out easier than you would expect. Keep reading to understand prep work, what cleaning a chicken involves, and how to safely clean your work surface afterwards.
What You Need to Clean Chicken
It’s important to gather everything you need to clean chicken beforehand to limit the risk of cross-contamination.
Usually, this includes:
- At least one cutting board (use a separate cutting board for anything other than your raw poultry)
- Strong shears (a knife may work, but kitchen scissors are usually easier to work with)
- Storage containers and/or bags (for the innards (if you intend to keep them) and the clean chicken
- Paper towels
- Lemon juice or vinegar (if you want to wash chicken in an acidic solution)
- Cleaning supplies (for sanitizing your area afterward)
Make sure you have your entire work surface clean and ready to go before you start. Have all your supplies close at hand, empty your sink, and clear the countertops of any unnecessary utensils or appliances to prevent adding more work to your cleanup.
We also suggest having your trash can nearby and open so you can throw parts or package away with ease. You can wear gloves if you’re not thrilled about handling raw chicken, but understand that you will still transfer bacteria unless the gloves are cleaned between handling different items.
How to Clean a Whole Chicken
Cleaning a chicken refers to preparing the chicken for whatever meal you have planned. Some parts of cleaning the chicken may be handled by whoever processed the bird, but we will go over the entire process here to make sure you aren’t caught off guard if they do not.
Generally, cleaning a whole chicken involves:
- Preparing the chicken and your work space
- Removing the giblets and kidneys
- Trimming fat and gristle from the bird
By the time you are done, you can move onto preparing the chicken for whatever meal you have planned or getting it into the freezer.
Step 1: Prep Work
Prep work involves a few things.
First, make sure your chicken is ready to clean. There isn’t much to worry about if you’re cleaning a chicken immediately after processing, but it’s a different story for store-bought birds.
If you’re handling a frozen chicken, make sure you thaw it in the fridge overnight before cleaning. Alternatively, you can soak it in a bowl of cold water, replacing the water every 30 minutes until it is fully thawed.
It takes about 24 hours to thaw a 5 lbs frozen chicken. Expect about 30 minutes per 1 pound if you use the cold bath method. Make sure you leave yourself plenty of time for the chicken to thaw, and that you have a plan for cooking it soon after.
Remove any packaging (i.e. the disposable bag the chicken came in) as well as any twine or wire holding the chicken’s legs together. Throw everything away immediately to limit the spreading of bacteria and foodborne illness..
Clear your workspace of any other food and supplies until you have finished cleaning the chicken. Set out any of the supplies listed above in an area that’s easy for you to access, and make sure your sink is clean so you can rinse your chicken.
Covering your work surface in paper towels can help prevent the raw juices from spreading out across your counter.
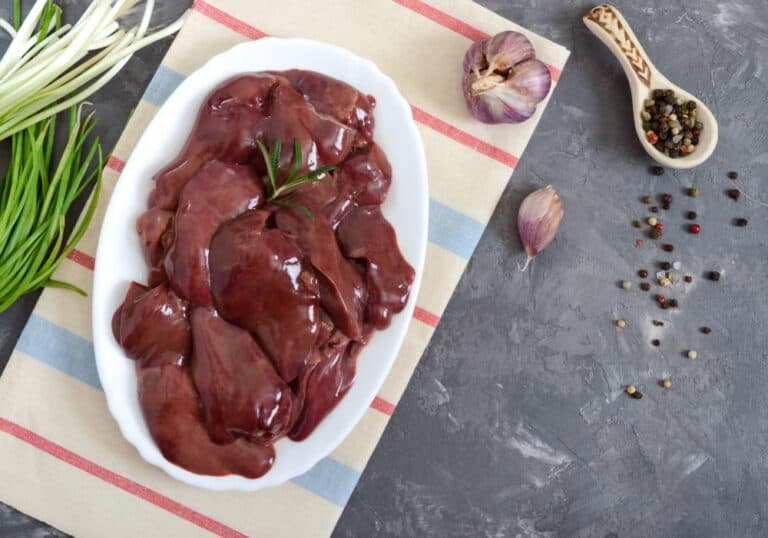
Step 2: Remove Giblets and Kidneys

Store-bought birds often have their giblets (heart, liver, gizzard, and sometimes neck) packaged and stuffed in their body cavity, making it easy to reach in and remove them. If not, the USDA dictates that the birds must be appropriately labeled to warn you of this fact.
If you’re dealing with such a bird, start by placing it on your work surface. You should be able to reach into the chicken and pull out each of these parts, but you may also find it easier to cut the chicken open.
In all, you should remove:
- 1 neck
- 1 gizzard (the muscles that breaks down food before entering the digestive tract)
- 1 heart
- 1 liver
- 2 kidneys
These parts should come off easily with a sharp tug to break the connective tissue. While you can throw them away, many choose to keep them for stocks, broths, gravies, or to complement other meals.
Step 3: Trim Fat and Gristle

After you clear the chicken of its organs, you need to trim fat and gristle from the meat. While fat may not be an issue for you, most want to cut away gristle that becomes difficult to consume as the chicken cooks.
These deposits are most commonly found around the neck and tail of your chicken. To remove, simply pull it away from the meat and use a sharp knife to cut through the connective tissue.
Like the innards, you can keep fat and gristle for use elsewhere in your kitchen. They do a fantastic job of greasing pans or baking dishes, and fat can provide a flavor boost for your stocks, soups, or stir-fry dishes.
Just keep in mind that you will need to render the fat to save it for cooking. This makes it last quite a while, as long as 4 weeks in your fridge.
Post Processing Cleaning vs. Cleaning a Store-Bought Chicken
The biggest differences in cleaning a chicken you processed at home and cleaning a store bought chicken are the need to rinse the body cavity and what you will do after you clean the bird.
For the home-processed chicken, you should rinse the body thoroughly with water once you remove its guts. Allow the water to flow freely from the neck to the posterior opening and consider filling the cavity completely to reach every little crevice.
Once you’re done, you can get the chicken settled for a meal or continue prepping it for storage. If you’re processing multiple chickens at once, it’s usually easiest to drop them into an ice bath and then continue bagging them up and freezing them when you’re done.
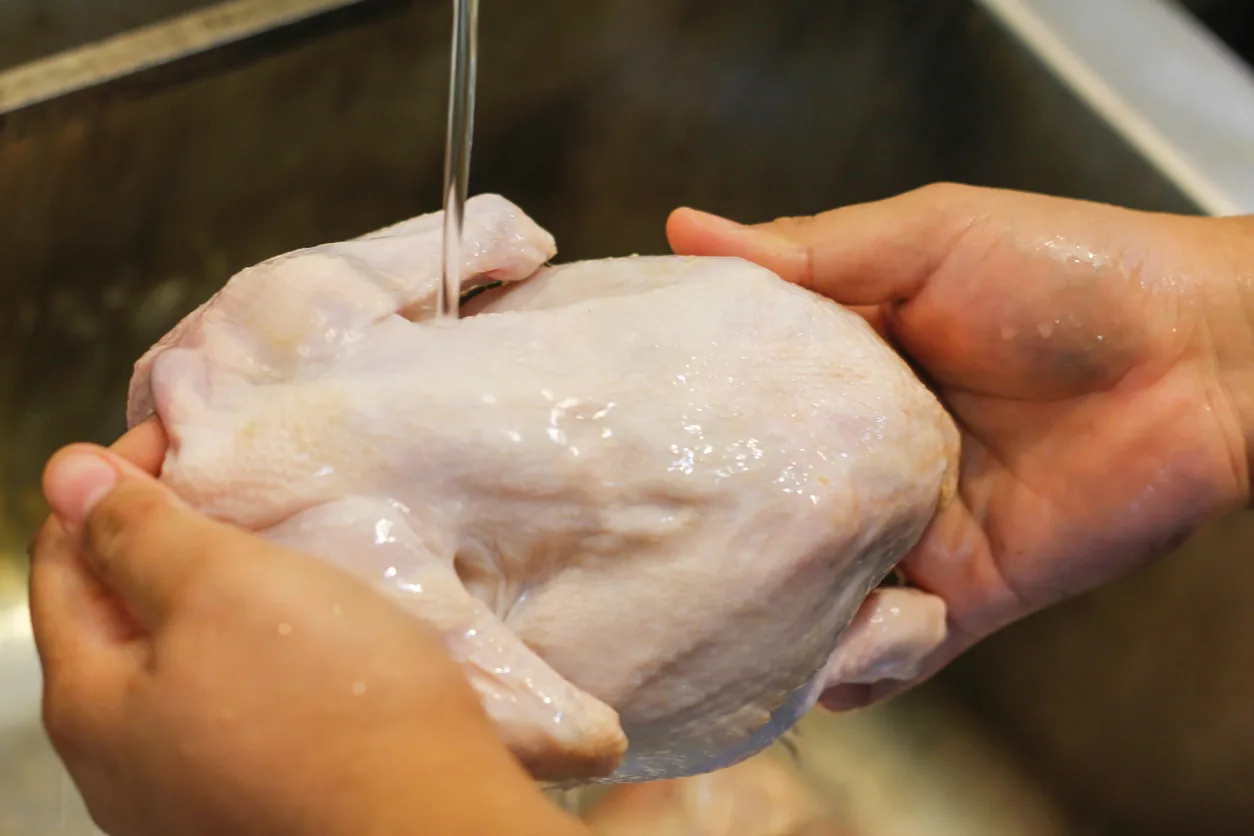
Cleaning a Chicken vs. Washing a Chicken
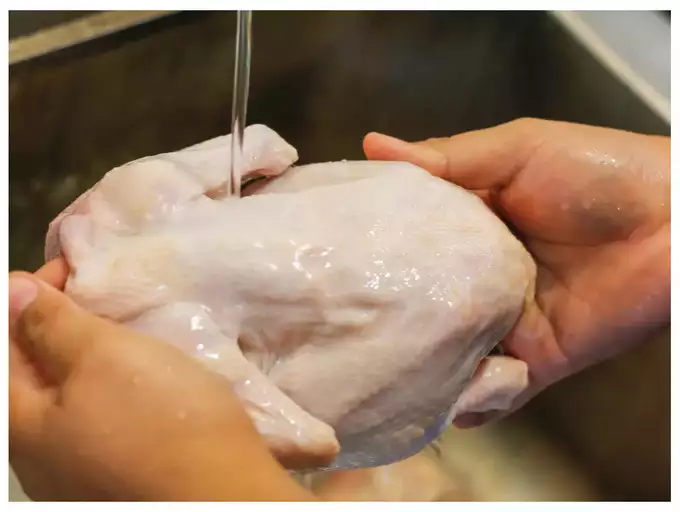
Keep in mind that cleaning a chicken and washing a chicken are not the same processes.
Cleaning a chicken is something that should always be done, and there are important steps and measures to follow for optimal food safety. When done correctly, cleaning a chicken has an extremely low risk of food poisoning.
Washing a chicken refers to using an acidic solution, such as lemon or lime juice on the chicken to kill any additional bacteria. It’s also known to benefit the flavor, deodorize any unwanted freezer smells, and tenderize the meat (cutting down on cooking time).
Washing a chicken is controversial, so you should research the risks before adding this to your cleaning routine. If you choose to wash your chicken, remember to:
- Gently run water over the raw meat to prevent splashing and subsequent contaminations
- Clean the sink immediately after using hot water and soap
- Sanitize the sink after (and in addition to) cleaning
- Wash your hands for at least 20 seconds once the area is clean
Keep in mind that even these measures are not bulletproof, and you run an increased risk of contamination by simply choosing to wash your chicken.
Should You Wash Raw Chicken?
Washing raw chicken is a common practice in areas such as the West Indies and Caribbean, and it’s often taught as a natural part of preparing the meat for cooking.
According to the Center for Disease Control, raw chicken often carries harmful bacteria such as campylobacter and salmonella. One USDA study showed that 1 in 7 participants who cleaned their sink after washing chicken in it still had germs in it.
For this reason, and the fact that chicken doesn’t need to be washed to enjoy great taste, we recommend against washing it.
What to Do After You Clean a Chicken
The job doesn’t stop when the cleaning is done. Afterwards, make sure you have enough energy left to prep your chicken for storage OR to get it oven ready. You should also take the time to thoroughly clean your workplace to prevent future bacterial bloom.
Prep for Storage
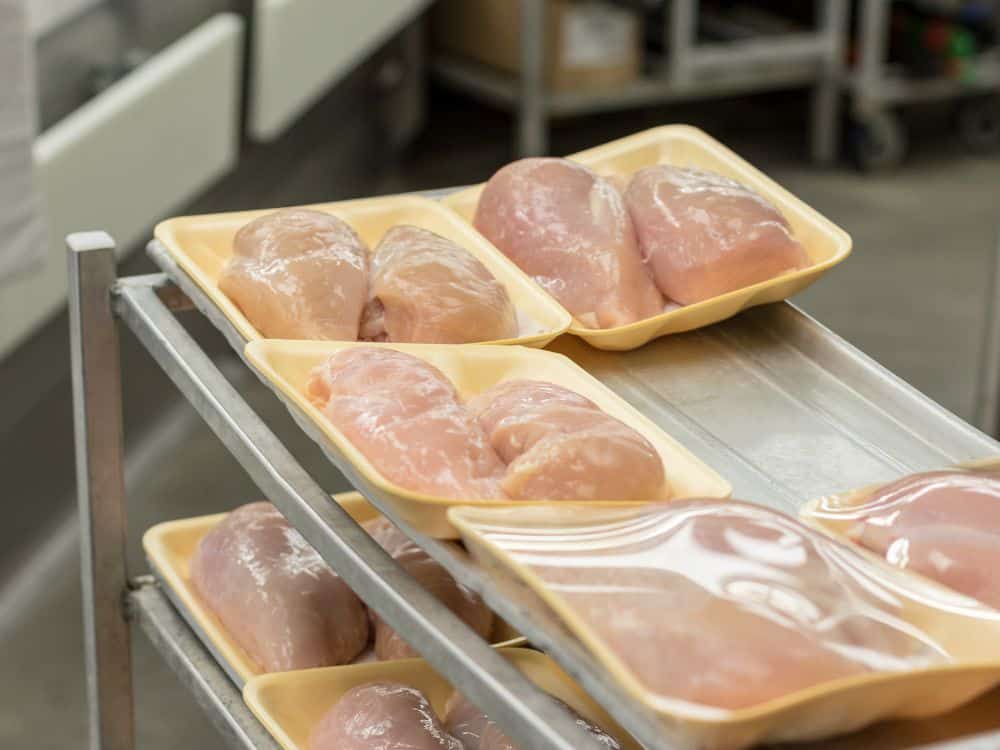
If you didn’t start with a frozen chicken, you want to package it up and store it in your fridge or freezer as quickly as possible.
Whole chickens fit nicely in gallon-sized backs, and you can even tuck the legs in the body cavity if you’re tight on space. If you already have a plan for the bird, consider cutting it up as needed before you put it all away. The whole bird can freeze for up to a year while chicken pieces stay frozen-fresh for about 9 months.
You can store the chicken in the fridge for a day or two if you plan on using it anytime soon. Another (trickier) storage method involves canning the raw meat, but this requires more time, effort, and consideration.
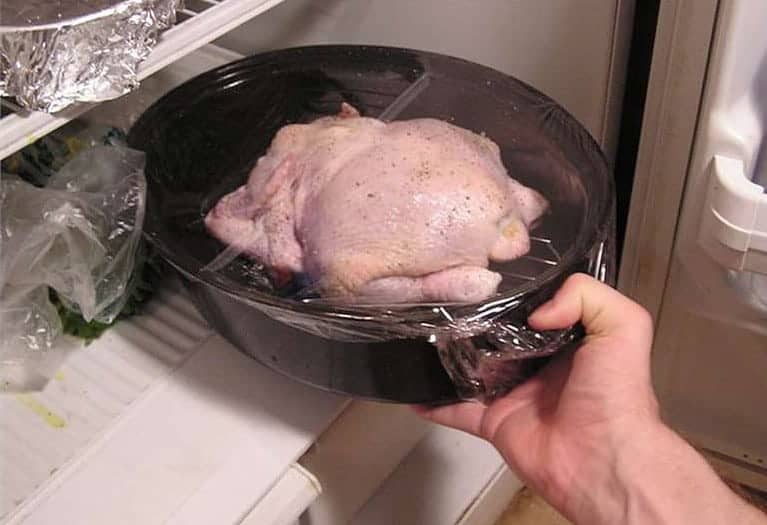
Get the Chicken Oven-Ready
If you plan on serving the clean chicken for dinner later on, put it on a roasting pan in your fridge for about an hour. Make sure the juices will not come in contact with your other food, but allow the chicken to dry thoroughly before you cook it.
Clean and Sanitize Your Workspace
Work systematically when you clean and sanitize your workplace. Remove all trash, then wash your tools with antibacterial soap.
Once those are set out to dry, clean your sink, countertop, and cutting boards with a strong disinfectant (taking care not to splash your drying dishes.
Finally, wash your hands for at least 20 seconds before moving on to your next activity.
Conclusion
When cleaning a chicken, remember to:
- Collect all your supplies and clear your workspace beforehand
- Make sure all the innards are removed (even if you have a store-bought chicken)
- Clean your workspace with an effective antibacterial soap
- Disinfect the area ON TOP OF cleaning it with soap
It may seem tedious, but following these strict guidelines is the safest way to clean your chicken so you can enjoy your meal without the threat of food poisoning. Comment with any questions or concerns you may have!