If you’re reading this, you probably already know why you want to start a mealworm farm. Maybe you’re tired of spending a small fortune on insects for your chickens, reptiles, or other insectivores. Maybe you’re starting a life cycle unit for your classroom.
Mealworm farms are incredibly easy to start as long as you have the right tools and a basic understanding of your responsibilities.
We cover all of this information down below, starting with basic life-cycle knowledge before explaining the most common mealworm farm setups and how to run your farm from start to finish.
The Mealworm Life Cycle
Mealworms are the larval stage of the tenebrio molitor, the yellow darkling beetle. While they spend most of their time as larvae, this is only one of four stages of their life cycle.
The four stages mealworms go through are:
- Egg (about 1 to 2 weeks)
- Larvae (about 3 months, but can last as long as a year in cooler temperatures)
- Pupae (about 2 to 4 weeks)
- Adult (3 to 12 months)
The bugs have different appearances at requirements at each stage.
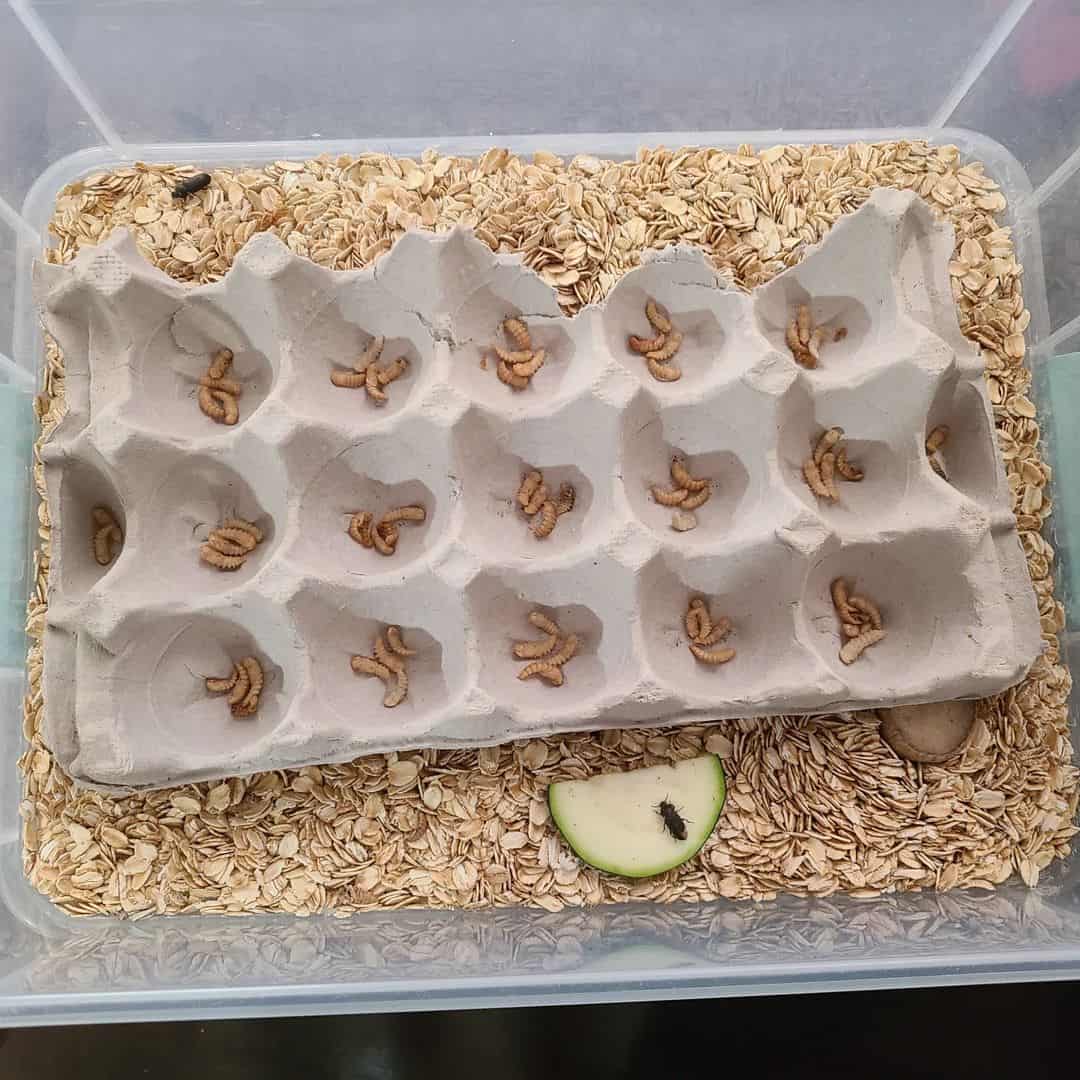
Eggs

Mealworm eggs are small, white, and bean shaped. They tend to stick to whatever substrate is available in your mealworm farm, and they may be difficult to spot.
The eggs can be a tasty treat for hungry adult beetles, but those that can stick it out for 1 to 2 weeks quickly hatch into tiny white mealworms.
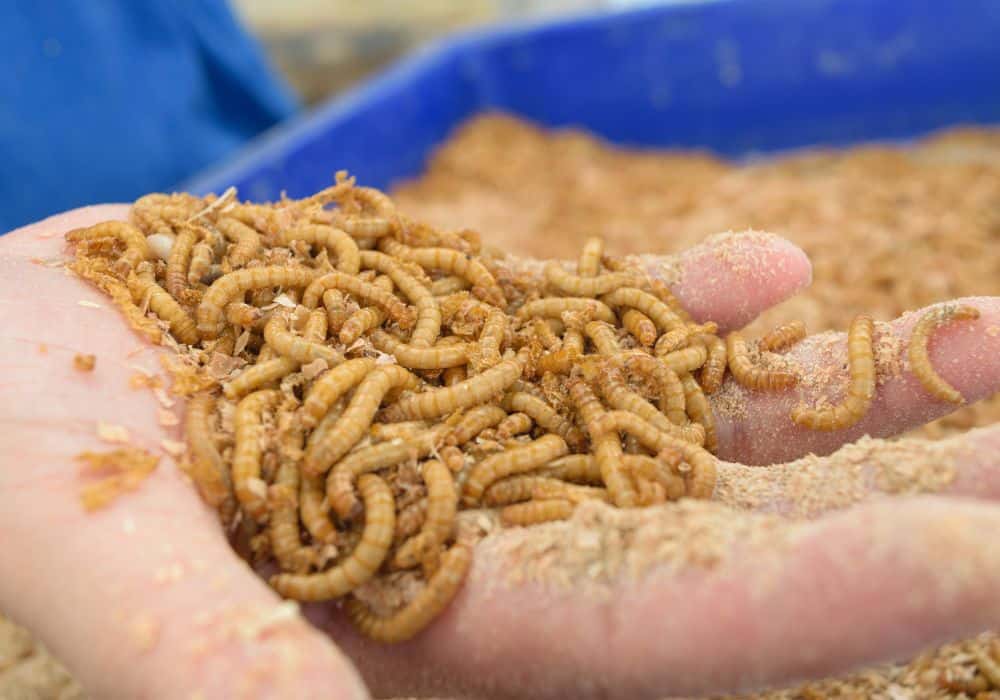
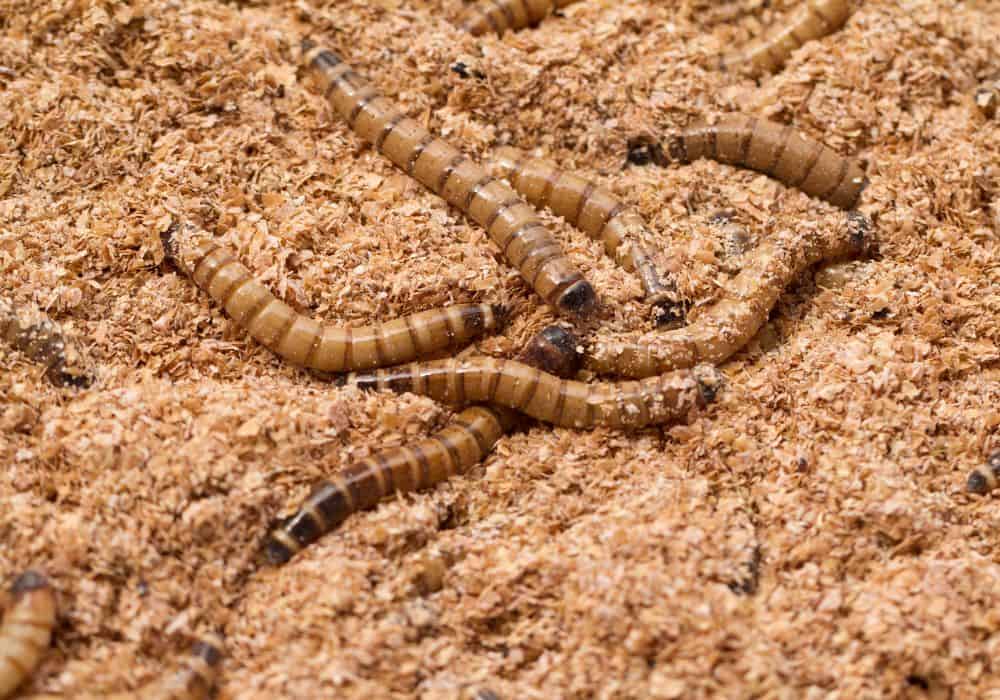
Larvae
Once mealworms hatch they reach the larval stage. This is the most recognizable stage for the insects, as this is where they inch around as worms of various sizes.
It can take the mealworm larvae anywhere from 3 months to a year to fully mature depending on environmental conditions. The less they are fed and the colder your farm is, the longer it will take.
During this time the larvae go through several molts. If your humidity is too low, you may lose some during this time, but they usually shed their exoskeletons without issue.
Apart from a short period where they’re pale immediately after molting, mealworms darken every time they shed their exoskeleton, turning more yellow or golden as they age).
Eventually, they reach the pupal stage and begin to prepare for adulthood.
Pupae
Mealworm pupae aren’t terribly exciting. In fact, you may think they’re dead mealworms in the early moments of the pupal stage.
As they grow into pupae, the mealworms look less like a worm and more like an alien or a mummified insect. They pale to white and will no longer move, eat, or drink.
While mealworm pupae have a tougher exterior, they won’t be able to protect themselves. They ‘re stuck like this for about 2 to 4 weeks (again, depending on their environment) until they emerge as a beetle.
Adult Beetles
When they first emerge, mealworm beetles are pale white or yellow. Within a few hours they darken to a reddish brown color, and they’ll turn black in a few days.
Adulthood is the final stage of the mealworm life cycle. From here on out they focus on eating, mating, and laying eggs. A female darkling beetle will lay several hundred eggs before she dies, and the cycle will continue from there.
Single Container vs. Tiered Mealworm Farm Systems
Before you start your own mealworm farm, you should decide on which farming system you want to use.
Single Container Mealworm Farm System
The single container system is the easiest to set up, and you’re more likely to have the necessary materials in your home already. Even if you don’t, you can purchase virtually any suitable container for less than $5.
A single container takes up less space than the tiered system, and you have less variables to worry about when tending to your farm.
Despite the ease of care, the single container system is likely to produce fewer mealworms. Because they’re all in the same area, your beetles and larvae may snack on the eggs and pupae (and even each other).
It can also be more difficult to separate your harvesting worms from the other life stages, making this unsuitable for high-yield requirements.
Tiered Mealworm Farm System
If you can, we suggest starting with a tiered system for farming mealworms. This allows you to separate your mealworms by life stage, decreasing cannibalism and making it easier to harvest your worms.
Tiered systems take more work to set them up and monitor each tier, so they’re not the top choice for someone who wants a hands-off experience when raising mealworms. Determine whether the increased effort and startup costs are worth the higher yield before you start.
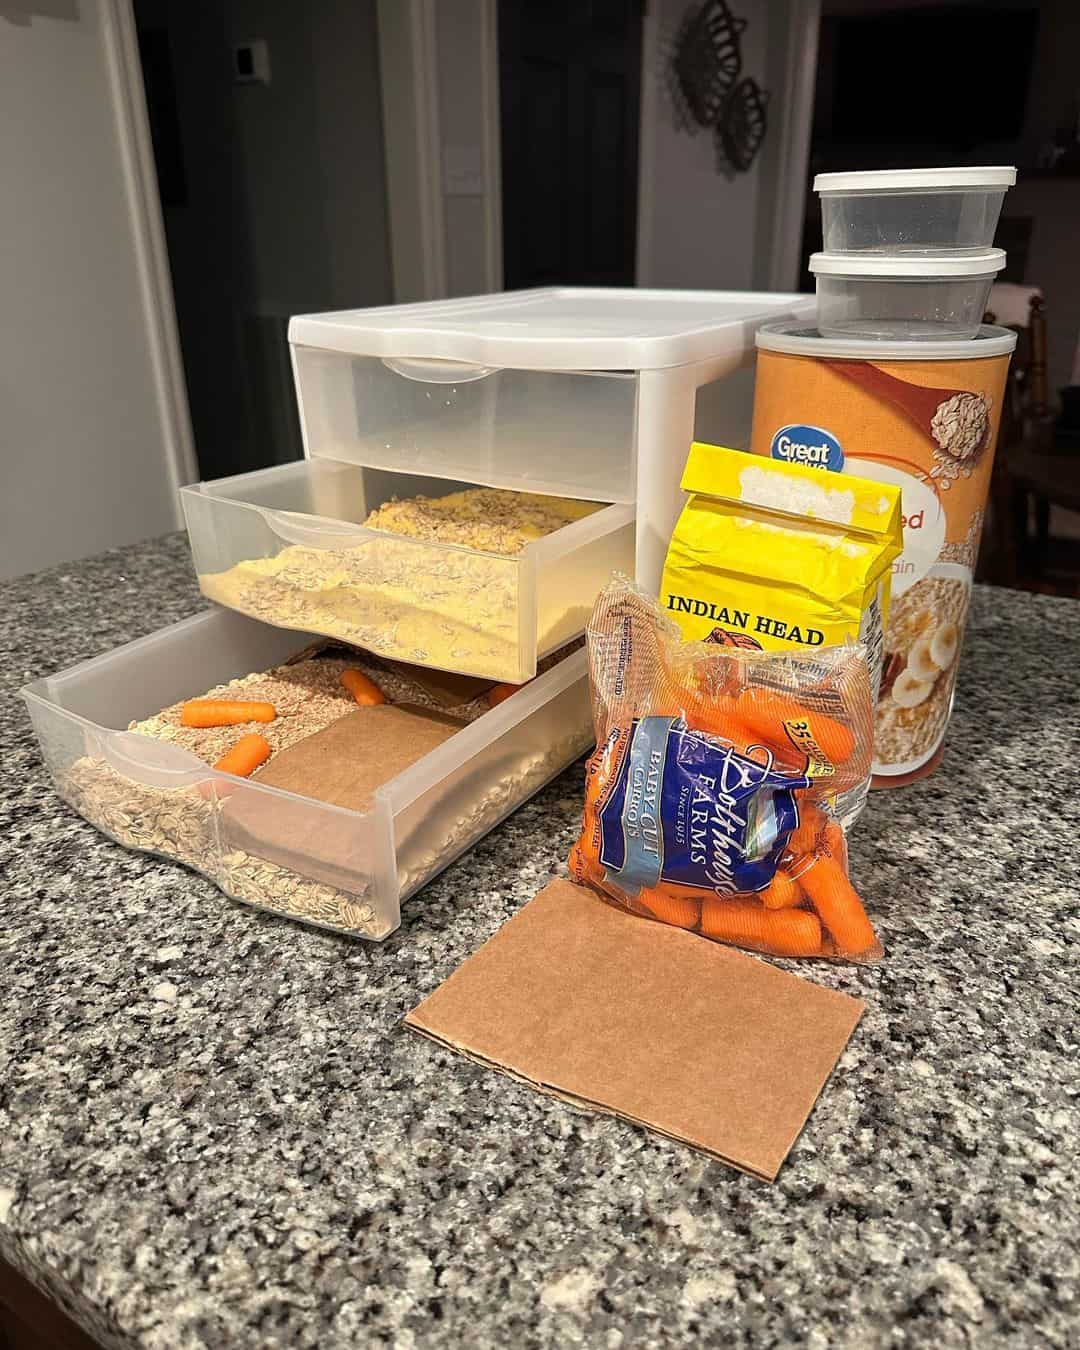
What You Need to Start a Mealworm Farm
For all systems:
- At least 500 mealworms (can also purchase darkling beetles to jumpstart the process)
- Suitable substrate (i.e. oats or wheat bran)
- Suitable source of moisture (potatoes and carrots work best)
- Gloves and mask (should be worn to prevent development of allergies)
For a single-container colony system:
- Container (i.e. old aquarium or plastic tote; suitable for 2 to 8 inches of bedding)
- Lid (screen mesh or even plastic wrap with holes works as well)
For a tiered farm system:
- Plastic drawers (3 drawers; 5 drawers) (more drawers = more worms; some systems can be combined)
- You can also stack some single container systems, such as buckets or totes, as long as they have space in between each tier.
- #8 (⅛ inch) hardware cloth or mesh
- Duct tape
As your mealworm farm grows, you may want to purchase sifting pans to make sorting by size easier. A heat mat is a good idea for those in colder climates.
Step-by-Step Guide to Starting a Mealworm Farm
The steps involved in starting a mealworm farm include:
- Setting up the farm
- Adding substrate
- Adding mealworms and/or beetles
- Providing food (and time to grow)
- Harvesting
Regardless of which system you choose, observe each stage of farming and harvesting to ensure your mealworm farm has the highest chance of success.
Setting Up Your Mealworm Farm
Setting up a single-container system is much simpler, and even the tiered system should observe these basic steps. Make sure the container is clean and dry, then find a space in your home suitable for the farm.
Ideally, this is an area that is dark, gloomy, and warm (closets work well). If conditions aren’t optimal, consider darkening your container by taping or spray painting the sides or setting it on a heat mat to make sure your mealworms are happy and healthy.
Even a single container system should have a lid. If yours does not, take time to make one with wire mesh or aluminum foil. This will prevent pests, like insects or rodents, from infiltrating your farm.
How to Set Up a Tiered Mealworm Farm System
You should have at least 3 tiers (usually drawers) for your farm system to accommodate the adult, larval, and pupal stages.
Your beetles will go in the top tier. Use a box cutter or scissors to cut out the bottom of the drawer or container and replace it with your hardware cloth. Your beetles will dig down and bury their eggs, which will fall through the small gaps into the next tier (protecting them and the hatching worms from being eaten by the adults).
The second drawer or bin will hold your eggs and worms. Even if you’re starting with beetles, you should prepare this tier with substrate so emerging worms have something to eat once they hatch.
The final level will hold your pupae. Once you notice the pupae in your worm drawer, move them here to prevent the worms from eating them.
While the pupae don’t need to eat, it’s a good idea to put some substrate in here to accommodate the adults when they emerge so they don’t eat the other pupae. Alternatively, you can make a small shelf for your pupae so the emerging beetles crawl off and cannot climb back up to eat the remaining pupae.
The more drawers or levels you have in your tired system, the more worms you can accommodate. This allows you to alternate through different stages, although you must take care to rotate the drawers regularly (3 to 4 months at the longest).
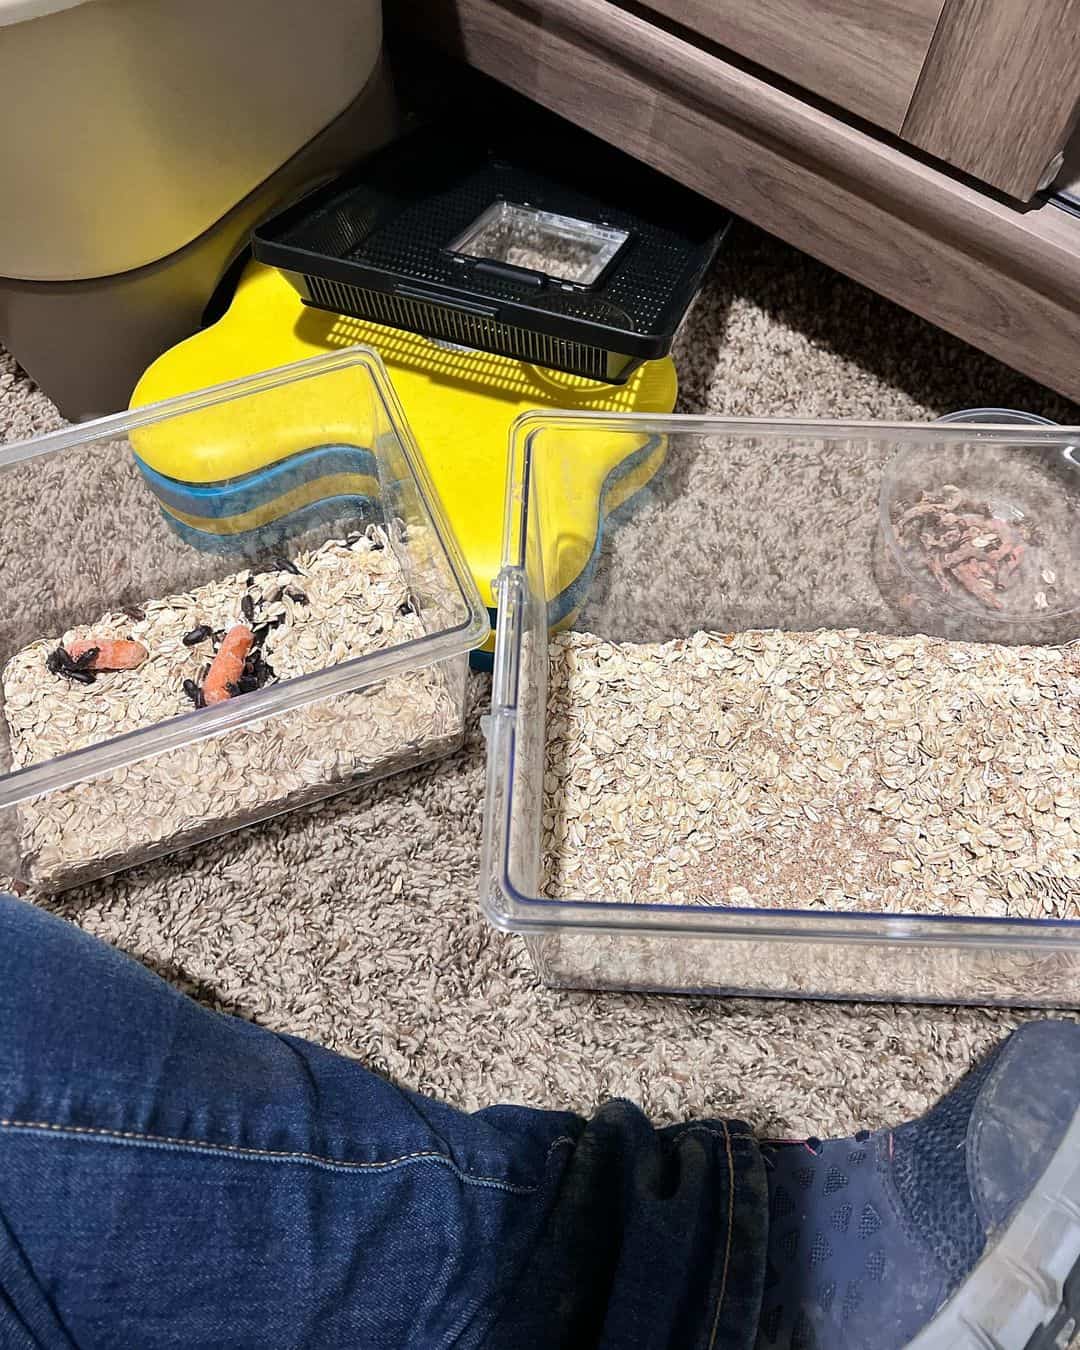
Adding Substrate to Your Mealworm Farm
Your substrate serves as both bedding and food for your mealworms and beetles.
Wheat bran is the best choice for your mealworm farm. Benefit include:
- Easy consumption by mealworms and beetles
- Lightweight (will not compact and easy to move around in)
- Smaller unit size (easier to harvest mealworms)
- Low cost (when purchased in bulk from feed store you can find it for $1 or less per pound)
Rolled oats are a popular backup choice. You can use plain unflavored oatmeal, such as instant oats or old-fashioned oats, but avoid anything steel-cut; this is usually too thick for your mealworms and beetles to eat.
If you choose oats, understand that they tend to compact and may be difficult for your mealworms to navigate. They also develop mold easier and are the same color as your pupae, making it difficult to maintain your farm.
Avoid finely milled grains, such as flour, and whole grains. If you decide to use an alternative substrate like chicken mash, make sure it doesn’t have diatomaceous earth; this will kill your mealworms.
Sterilize the substrate by spreading it in a thin layer on a cooking tray and baking it for about 20 minutes around 130°F to 150°F. You can sterilize any leftovers for later use by popping them in the freezer for a few weeks or just wait to bake them again.
For a single container system lay at least 2 to 3 inches of substrate. This will give your worms and eggs plenty of space to hide from beetles. You can add as much as 8 inches, but anything beyond that is more likely to complicate things than benefit your farm.
Deep substrate is not as necessary in your tiered system, but your worms will appreciate at least an inch or two for them to burrow down into.
Keep an eye out for mold moving forward.
Adding Mealworms and/or Beetles to Your Mealworm Farm
If you’re not in a rush, you can start your mealworm farm with just 50 to 100 beetles. If you plan on feeding off part of your population right from the start, we recommend no less than 500 to 1000 mealworms.
The greater your starting population, the faster your farm will grow. Don’t worry about pupae when you start; any you purchase and transport are unlikely to survive due to the stress of travel.
Mealworms can be purchased from:
- Bait shops
- Sporting goods store
- Feed stores
- Pet supply stores
You can also purchase them online from shops that specialize in insect production, but make sure you thoroughly research any vendor before making your final purchase. Look for transparency in their farming practices involving what substrate they use and what they feed their insects.
Make sure you do not purchase giant mealworms or superworms. The former is a larger version of the mealworm treated with a hormone that makes them larger but inhibits pupation and produces sterile beetles. The latter appears similar, but is an entirely different breed and requires a more specialized setup.
You can add your insect to your farm as soon as you’re ready.
Feeding Your Mealworms and/or Beetles
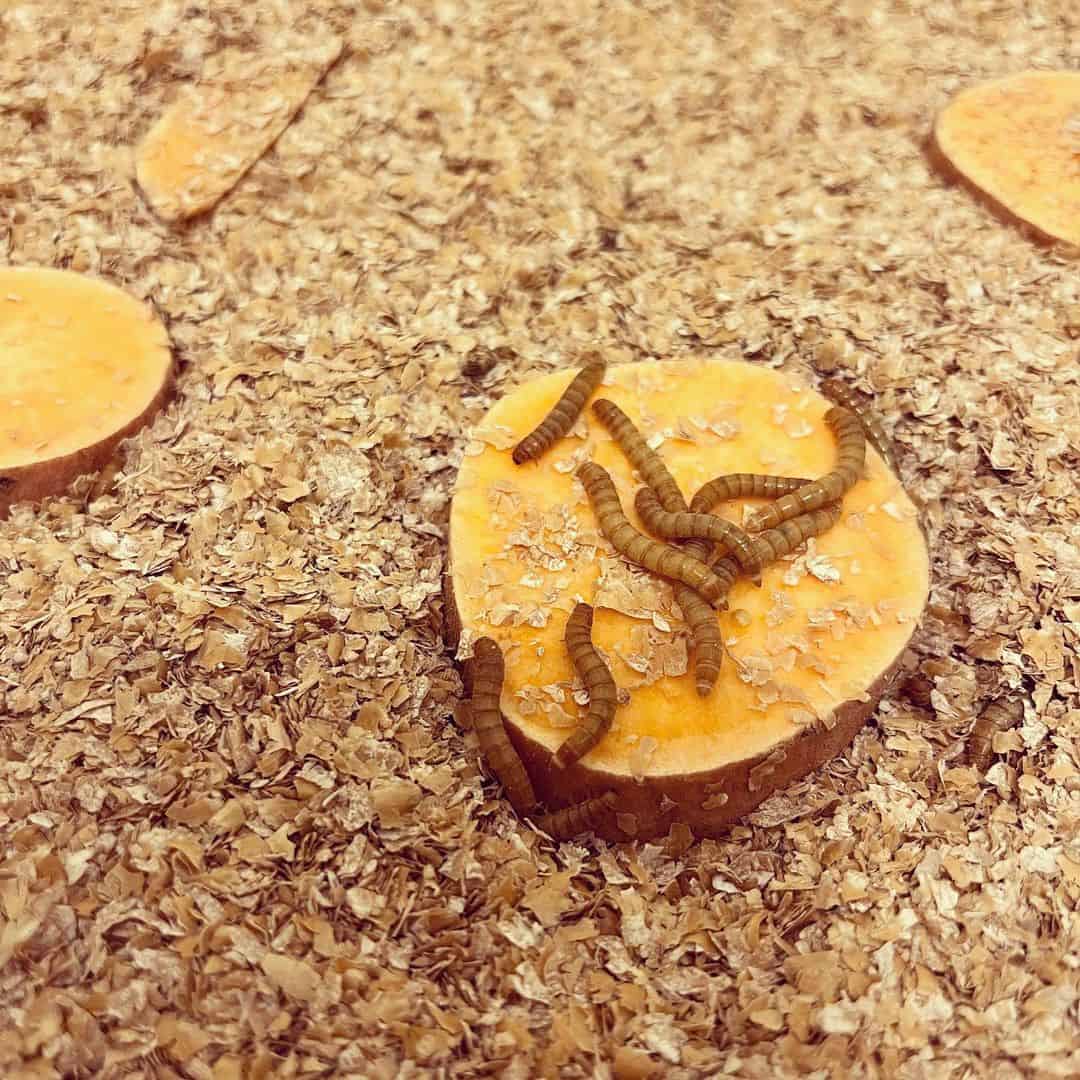
The more you feed your mealworm farm, the faster it is likely to grow. They will eat the substrate if nothing else is provided, but even adding food scraps from your daily meals will cause a huge increase in population and growth.
Make sure your farm has a suitable source of hydration. Carrots and potatoes work perfect for long-term provision and have a lower risk of mold. More watery fruits and vegetables, such as apples, run a higher risk of mold.
Regardless of what you feed, make sure it’s free of pesticides that may kill your mealworms.
Add more substrate as needed to maintain the original depth of your farm, and check often for mold.
Your mealworms will usually take care of dead beetles or dead larvae, but you may need to thin them out if the worms aren’t keeping up with the task.
Harvesting Pupae and Mealworms
Make sure you remove your pupae and move them to a safe location whenever you notice them. Alternatively, make sure you separate emerging beetles from the other pupae as soon as possible.
The easiest way to harvest mealworms from a beginner farm is by adding a new food source, like a carrot or a leafy green. Leave it in your farm for a few minutes, and then you should be able to remove it with mealworms attached (or at least at the surface).
If you find yourself producing more mealworms than you can deal with, harvest as many as you can and put them in a shallow, dark container with a bit of substrate and a well-ventilated lit.
Move this container into your fridge (it’s sanitary–we promise). The colder temperature will prevent them from pupating, and you only need to remove them about once a week for an hour to provide hydration from a carrot or potato. After the hour is up, remove the food and return them to the fridge.
Conclusion
While starting a mealworm farm is fairly easy, remember to:
- Keep the substrate as dry and mold-free as possible
- Separate pupae as soon as you notice them to give them the best chance of survival
- Add more food if you want to increase production
If you find a certain system is not working for you, consider switching to the alternative we list in this article. Mealworm farming has a high chance of success if you follow these steps, and you will soon have a steady supply of mealworms to meet your needs.