Have you finally decided to become a chicken parent? Congrats! Getting new chicks is always exciting. You probably have a thousand questions concerning when to buy chicks and how to start your chicken-raising journey.
Luckily, this article will take a deep dive into raising chickens, giving you some much-needed insight into when to buy chicks, how to brood them properly, and how to raise them to become the ideal poultry you desire.
While nothing stops you from buying chicks all year round, seasoned chicken brooders will tell you that the best time to purchase chicks is around springtime or early summer. You risk exposing your flock to unfavorable weather conditions any later or earlier.
When is The Best Time to Buy Chicks?
As mentioned earlier, you can purchase chickens any time of the year, as most conventional hatcheries allow hatching to continue all year round. However, the most convenient time to receive them after hatching would be just before the weather is warmest, between spring and summer.
Getting your chicks in the spring means less work, as you may not have to provide extensive heating. It also makes them less susceptible to diseases, increasing their chances of growing strong and healthy.
If you decide to get chicks in the winter, you will have to provide extensive heating for them as they cannot withstand harsh winter chills. Even if you take all these precautions, your chicks may still risk frostbite or other diseases due to the extreme weather.
Most hatcheries mail a minimum of about 15 chicks during the winter. This prevents the chicks from getting too cold and ending up dead when they arrive at your doorstep.
Chickens get fully feathered when they are about 8 to 12 weeks old. Getting chicks in the spring implies that they would be grown and feathered in by winter. You only have to provide little heating as they can do the rest alone.
Simple Formula for the Best Time to Buy Chicks

If you’re still a bit confused about how exactly to count back the day and weeks to time your chicks’ arrival perfectly, here’s a simple formula you can use:
- Depending on your climate, pick a date when you know the weather will be warm and favorable enough for your chicks to go outside.
- Count back about 12 weeks from the date you picked and select the new date.
- When you place your chick order, let the hatchery know you’d like your chicks to arrive on the new date.
What’s the Best Age to Buy Chickens?
Chickens fall under different categories, depending on their stage of development. The age to buy chicks depends on how much time and resources you’re willing to put into raising them and how long you’re ready to wait for eggs (if that’s your end goal). The younger they are, the more tasking it’ll be.
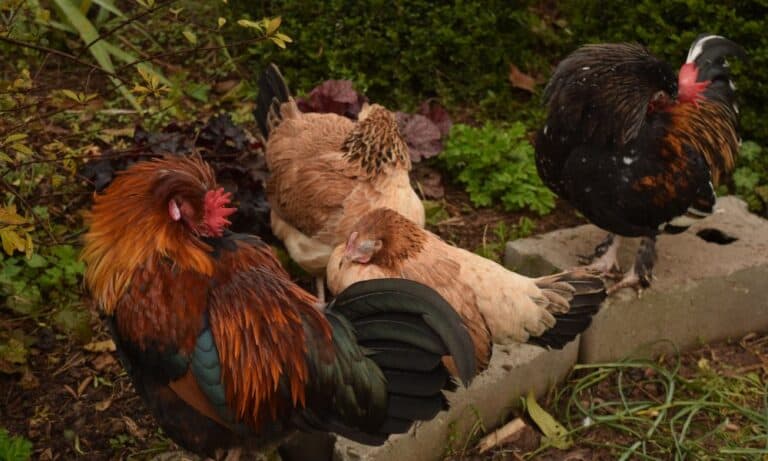
1. Chicks
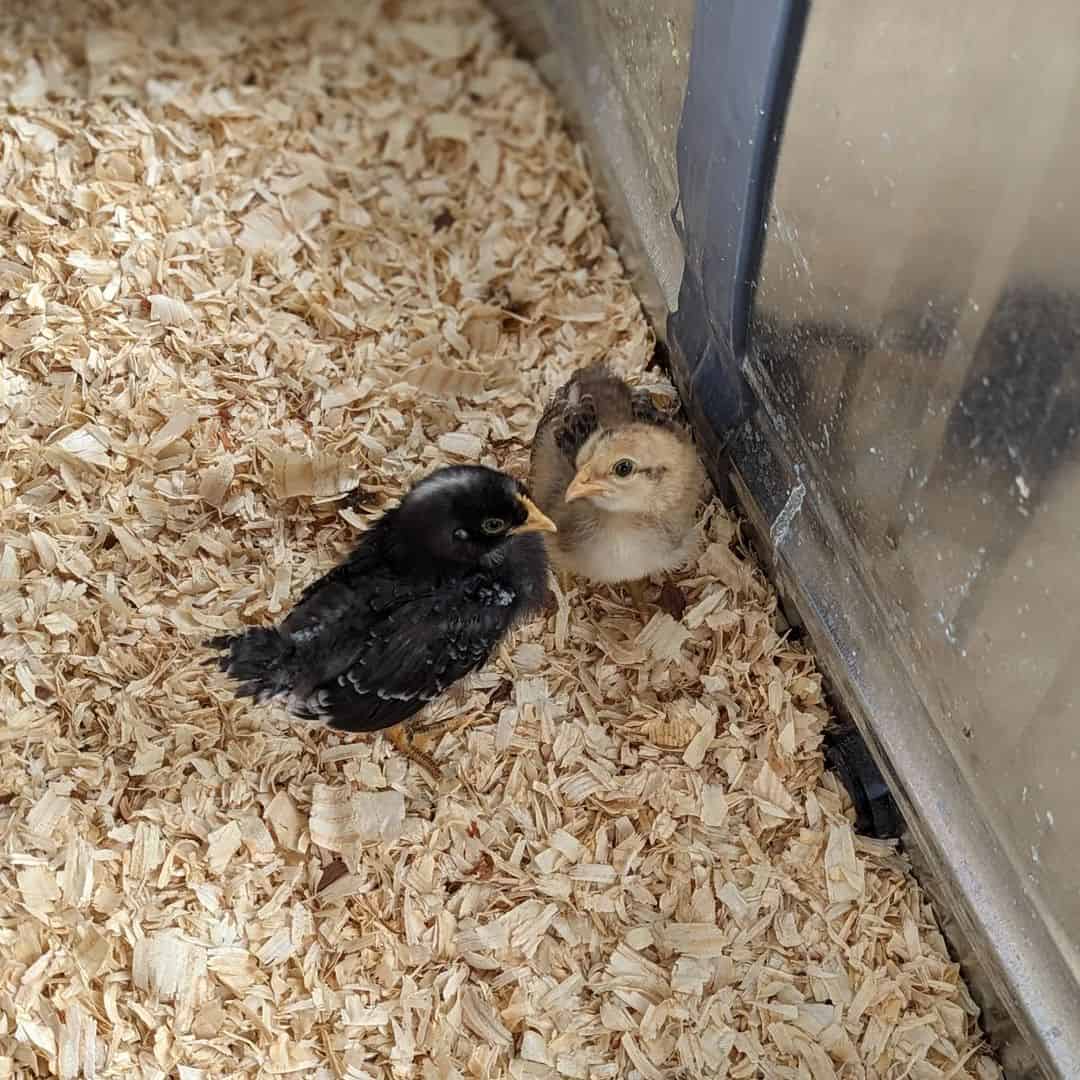
These are just day-old chicks and are fragile as they have just hatched. The upside of buying chicks is that they are cheaper, more adorable, and you will bond more with them. The downside is that you will have to nurture them throughout their growth phase. This can be tasking but rewarding.
2. Pullets
Pullets are young chickens that are just over ten weeks old. In a few more weeks, they will be ready to lay eggs. Pullets are more expensive than chicks, but you will not have to wait as long to get your eggs.
3. Laying Hens
These are fully-grown chickens that require much less attention when compared to chicks. They are the most expensive to purchase but are already at the age where they are mature enough to lay eggs.
How to Prepare for Your Chicks Arrival?
As excited as you may be, you’re probably nervous as well, and you might be running around like a frantic expectant mother, trying to get everything ready for your precious babies. Here are some tips on preparing great brooders and beddings to keep your flock as comfortable as possible.
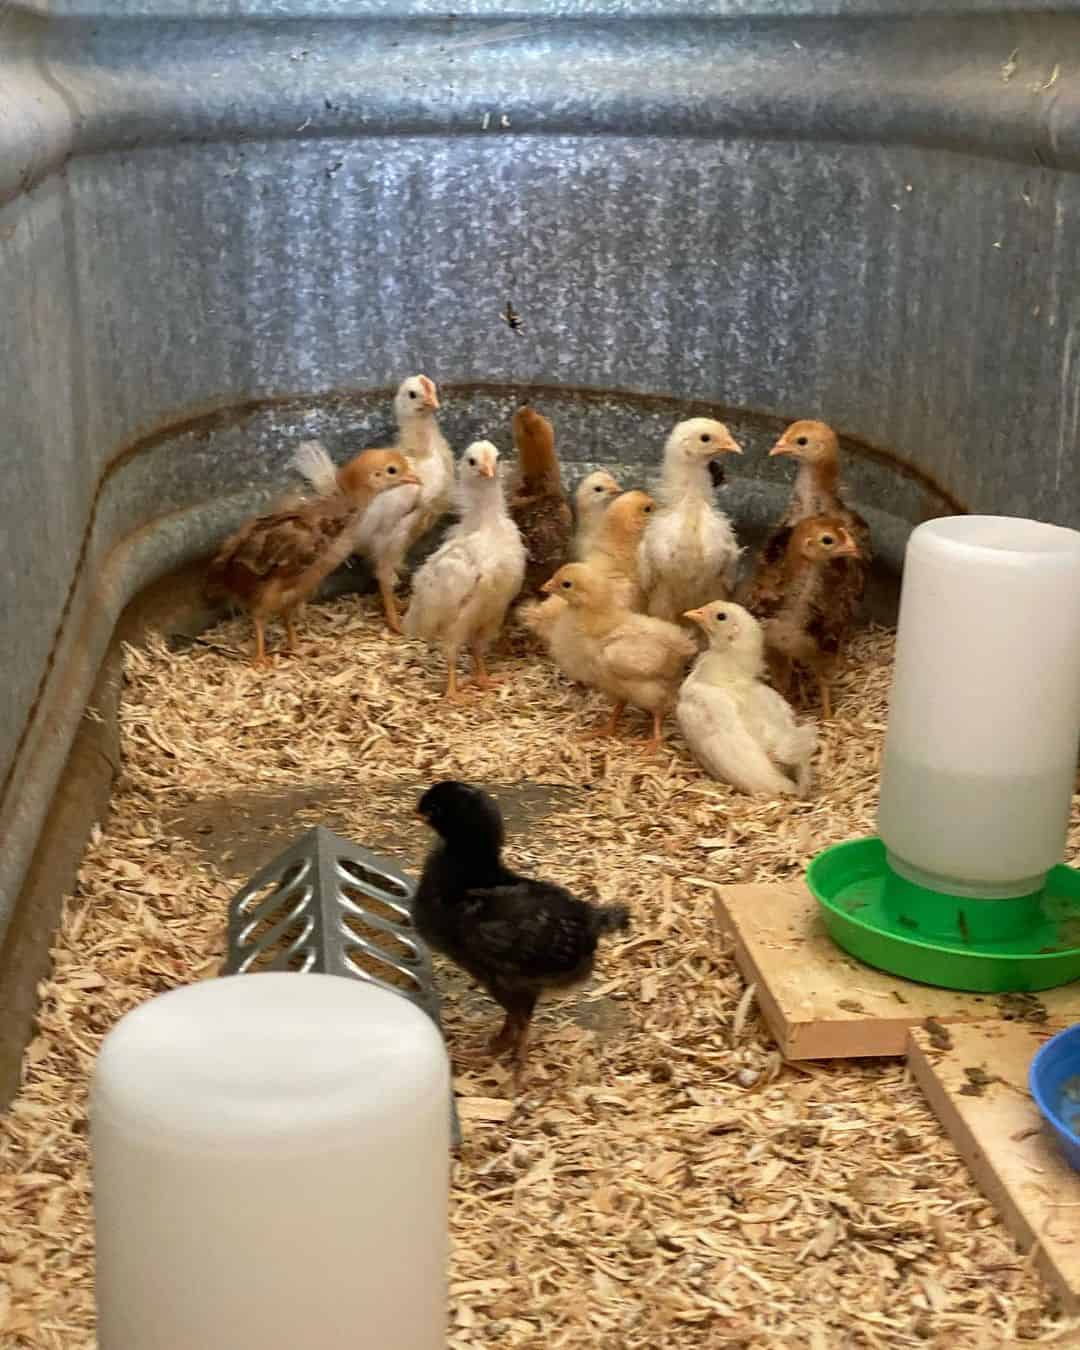
1. Preparing the Brooders
Brooders are basically your chicks’ first home. It could be simple or fancy, whatever works best for you. As long as it can comfortably house your chicks, then it works. It is best to put them in a brooder with a snug fit, as giving them too much space may lead to being stuck in corners and crevices.
However, please do not make it a tight fit because your chicks will begin to grow in no time.
If you’re on a budget, your brooder can be a cardboard box, plastic tub, or a playpen. Otherwise, you can get a fancier one from the store. Either way works fine, as your chicks will only be there briefly.
After a few weeks, your chicks will have grown, and you will need to move them to their more permanent chicken coops. But before that, brooders are the first step, and here are some simple steps you can follow to ensure your brooder is ready:
- Thoroughly clean out the brooder to ensure no harmful debris is left in it.
- Do not just lay your chicks down on the bare bottom of the brooder. Instead, put comfortable bedding like pine shavings or paper towels on the bottom. This also helps to add some warmth to their temporary home.
- Ensure the brooder is adequately ventilated, as chicks need a good air supply to survive.
- Cover the top of the brooder with a breathable wire mesh to keep your chicks safe from predators.
2. Provide Heat
You must provide an external heat source for baby chicks, as they cannot control their body temperatures at this stage. However, if you decide to get them in the spring, you will provide less heat than required in the winter.
For heat, you can use a heat lamp. However, because heat lamps can be fire hazards, you can opt for a heat plate instead. If you experience frequent power outages, you must prepare yourself with backup generators or an alternative source of heat and light. Chicks get antsy when they are left without light and must be in illuminated spaces at all times.
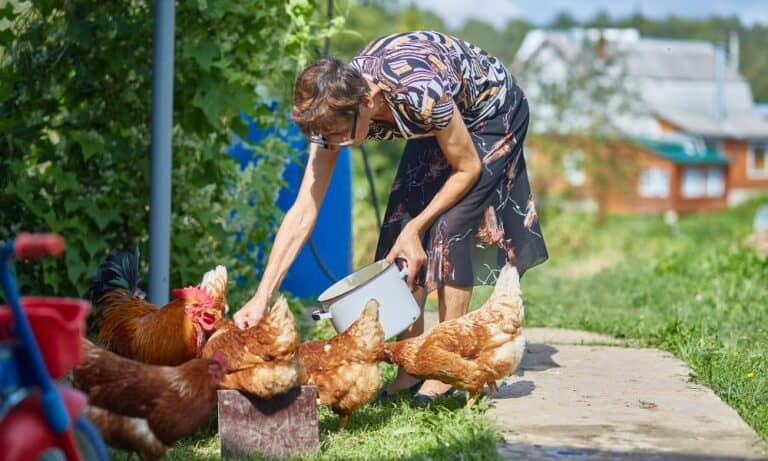
3. Feed and Water
These should be easily accessible to your chicks as they are still little and will have difficulty navigating long distances. You can get the appropriate feed from your local feed store. This may vary depending on your chick’s age and breed.
Their water should be clean and changed as much as three times daily. Chicks are clumsy and may end up mixing their poop or other debris into their water, and you don’t want that because it may lead to infections and diseases.
How to Identify Healthy Chicks Before Purchase?
Now that you know exactly what to do to get everything set for your chicks, you want to ensure they are healthy when they arrive. The last thing you want to do is start with sickly chickens; there’s little to nothing you can do to save them when things start to go south.
If you pick them up directly from the hatchery, this will be super easy, as you can choose the healthy-looking chicks before going home with them. However, if your chicks are mailed to you, you’ll want to assess them properly before doing anything else. This will help you know if you’ll get a refund or replacements from the seller.
Here are some tips to help you identify healthy chicks:
1. Signs of Activity
Healthy chicks are those that move around a lot. They are alert and active and will chirp your ears away for the most part. If your new arrival of chicks seems like they need to be more active even after they have been adequately fed, there may be a problem.
2. Bright Eyes
Chicks with bright, alert eyes are often the healthiest. There should be no droopiness except the chicks have been asleep. An unhealthy chick may be identified by dazed-looking eyes or eyes that are crusted shut.
3. Posture
Another simple way to tell if a chick is healthy is by how well it stands up straight. If its legs are stiff with crooked toes or are positioned oddly, it might be suffering from a condition that may be permanent. Pointing these signs out early is best to decide the best course of action going forward.
4. Navel
Healthy chicks should have navels that are clean and completely closed. If your chick’s navel is red or oozing egg yolk or stringy attachments, this could indicate an infection. An infected chick cannot survive as its immune system is relatively underdeveloped.
5. Vent
This is the part of the chick from which droppings come out. A healthy chick will have a clean vent without buildup or blockage. While a dirty vent might not always signify illness, it will require close monitoring to ensure it does not develop into something serious.
You can clear up as much buildup as possible from the vent to avoid this. However, be careful not to tug at the chick’s belly button, located just underneath the vent, as this may be fatal.
Conclusion
Springtime or early summer remains the best time to get a new set of chicks. However, conventional hatcheries produce chicks all year round, and you can get them at any time.
Before you buy chicks, the essential factors to consider include the time of the year, the age of the chicks, and the health of the chicks. It is best to ensure the chicks you receive are in good health to avoid unpleasant situations in the future.
To prepare for your chicks’ arrival, you’ll need to ensure the brooders are well-cleaned while making sure the chicks have enough access to food, water, ventilation, and heat.