Candling chicken eggs is a crucial step in growing and hatching baby chicks at home or on the farm. Even poultry farm professionals do it to check on the embryos in big batches of fertilized eggs to make sure everything is going okay with each chick.
Although candling chicken eggs sounds nerve-wracking and intimidating, it’s actually quite easy to do. It’s a fun activity to perform even with children, as long as they’re extra careful with the eggs.
Want to candle your chicken eggs to check on them at home? Here’s a step-by-step guide to doing so without having to buy expensive candling machines or specialized lamps.
Why is Candling Chicken Eggs Important?
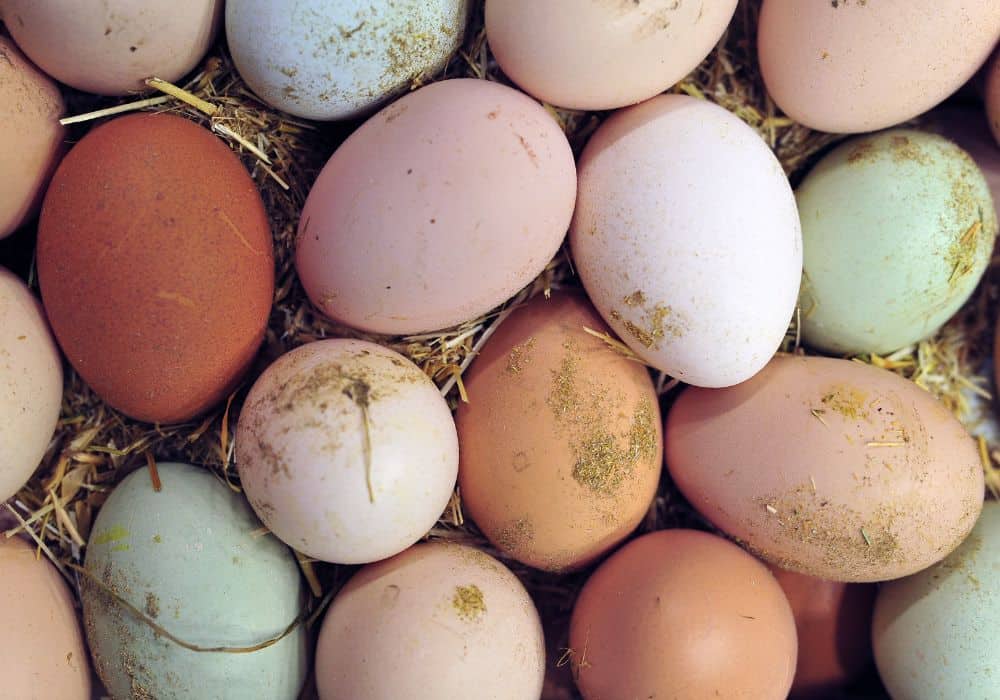
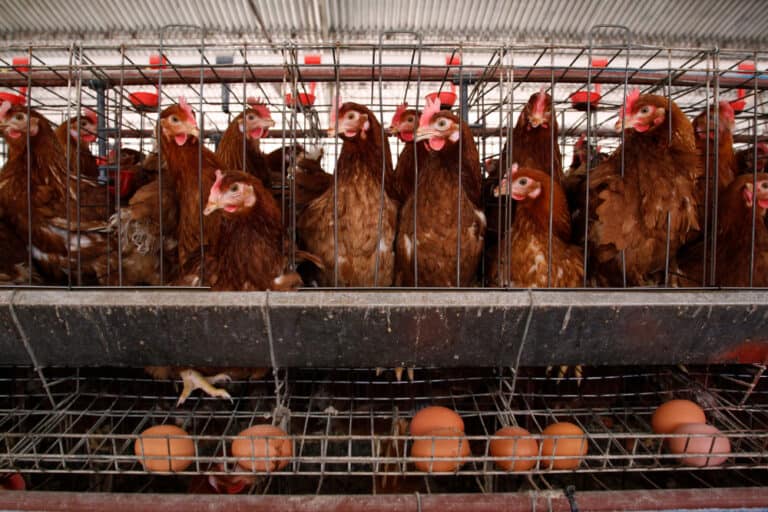
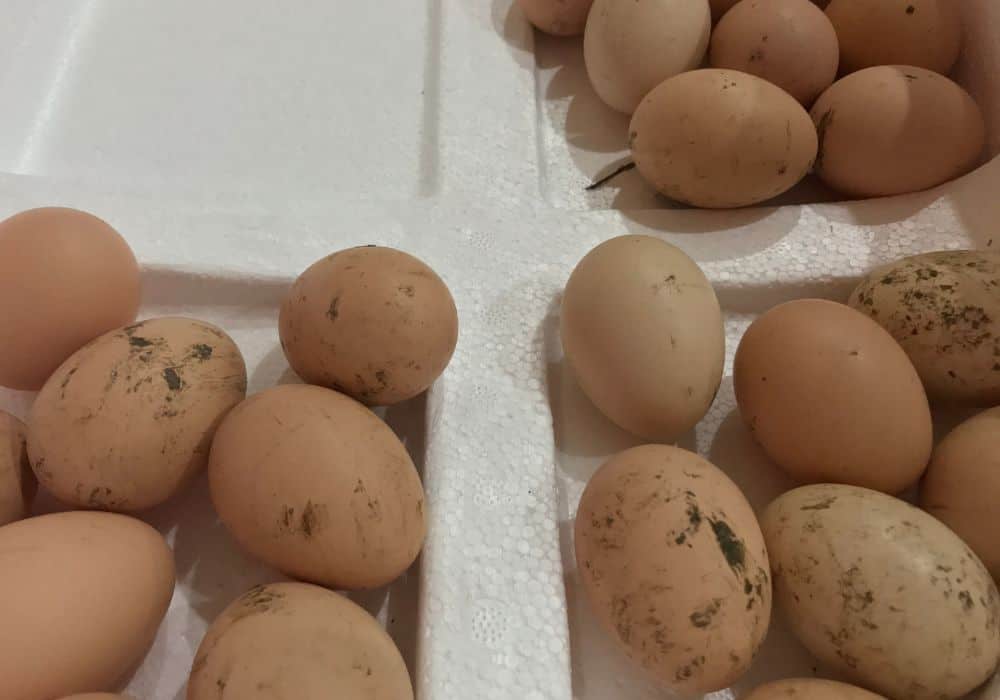
Not all chicken eggs are fertilized. To have a chick in an egg, a hen that lays it must mate with a rooster beforehand. Otherwise, all the eggs she lays will be clear and unfertilized, like the eggs you buy at the grocery store.
Unfortunately, there’s no way to tell which chicken eggs have chick embryos in them. The Fertilized eggs and unfertilized eggs look exactly the same to the naked eye.
That’s where candling comes in. Candling is a process that involves putting a chicken egg on top of a source of bright light to see its inner workings and check if there’s an embryo growing inside of it.
Candling is a quick and easy way to inspect eggs for any cracks before putting them in an incubator, too. Later on, it’s also an excellent way to check on the chick’s health, weight, and overall development.
Learning how to candle eggs is a must for those trying to start their own chicken farm at home, or just anyone who wants to hatch some chicks. Read on to see exactly how you should be candling chicken eggs at home.
What You’ll Need:
- A mobile phone with a flashlight
- The eggs you want to check for fertility
- An egg-shaped mold, like an oval-shaped stone or marble
- Non-toxic children’s clay
- A dark room to perform the egg candling
How to Candle Chicken Eggs
Candling might sound intimidating for first-timers. But don’t be pressured to buy expensive specialist equipment like an LED light bulb or candling machines. As long as you have a smartphone with a flashlight feature, you can candle your eggs quickly and efficiently.
Nervous about candling chicken eggs for the first time? Watch this helpful video to see the right way of doing it:
Here’s how to candle your chicken eggs, step by step:
Step 1. Prepare your makeshift egg candler
If you’re a professional poultry farmer who candles dozens of eggs a day, you might be better off investing in commercial egg candlers or an ovascope. But if you’re doing it for a small batch of eggs or with children to teach them about how chickens are born, expensive devices aren’t worth it.
Preparing a makeshift candler is very easy. All you need is a device that gives you a light source, like your mobile phone’s flashlight feature.
First, take some children’s toy clay and roll it into a donut shape. This will serve as a cradle where your egg can sit as you observe it over the light. The clay also helps to block out the light from illuminating anything else but the egg.
Put the clay directly on top of your phone’s flashlight. Place an oval-shaped mold on top of the clay where your egg will sit. This will shape and smooth out the clay so your egg can sit perfectly on it on top of the light.
Place this makeshift candler on a soft towel. That way, if the egg accidentally rolls out of the clay cradle, it won’t crack that easily.
Step 2. Wash your hands
Before you start candling chicken eggs, it’s extremely important to wash your hands. Transmitting even the smallest amount of germs and bacteria to your eggs can lead to the death of the embryos, especially when your incubator has high humidity.
When the incubator or nest is dirty and has bacteria growing in it, the pores of the egg shells can absorb the germs, penetrating the egg and possibly killing the chick growing inside of it. So, it’s pertinent that you practice cleanliness and good hygiene when handling your eggs.
Step 3. Pop each egg onto the light and observe
Finally, it’s time to check on your eggs. First, turn off the lights in your room. It’s easier to assess how your eggs look under a bright light when the rest of the room is dim. That way, all the light is focused on the egg only.
Take an egg out of the incubator and place it onto the clay of your makeshift candler. A good rule of thumb to follow is to candle with the pointy end of the egg facing downward, leaving the larger end of the egg on top.
If there are air sacs at the bottom or a network of blood vessels that look like a spider web, it’s an indication that your egg is fertilized. You might see a dark line called a blood ring on the egg if there’s an embryo that was developing but had died. Clear eggs mean they are unfertilized.
Check each egg for a healthy embryo as quickly as you can. You don’t want the eggs to be out of their incubator for too long so that their temperature doesn’t fluctuate.
Step 4. Remove any infertile eggs from the hatch
When you’re done assessing all your eggs, make sure to take out any infertile eggs from the hatch. Eggs with dead embryos should also be taken out. Only viable eggs should be left in the incubator.
You don’t want to risk these eggs exploding and cracking, as this can spread germs and bacteria in the incubator. If contamination happens, you run the risk of killing the living chicks in the rest of the incubated eggs.
When Should You Candle Your Eggs?

Note that while candling is an excellent process to do once in a while to check on the development of your eggs, you shouldn’t do it often. In fact, it’s better to do it as infrequently as possible. Limit your candling to key days in the hatching process of an egg.
The first candling should be on Day 1, right before you put your eggs in the incubator. Your goal here is to look for any cracks in your eggs. You never want to put cracked eggs in your incubator, as this can promote rotting and contamination.
At around Day 7, you can do your second candling to see which eggs are fertilized. You can start taking out unfertilized eggs and perhaps move them into the fridge instead.
On Day 14, you can do another candling check on your eggs. At this point, most of the egg shouldn’t light up. It should have a cloudy dark spot because the chick should take up most of the space inside it. This is a clear indication that the chick is growing well.
Some people might also want to candle their eggs a final time on Day 18, right before the eggs go on incubator lockdown until they hatch. This final check-in allows you to record the weight of the eggs before the chicks are born.
Once the incubation lockdown begins, do not candle your eggs. Leave them alone and avoid opening the incubator so that there aren’t fluctuations in temperature and humidity.
Other Important Egg Candling Tips
- Take photos of your eggs each time you candle them. That way, you can take note of any changes in the weight and appearance of each egg.
- Do not candle your eggs often. The more you touch the eggs and take them out of the incubator, the more likely you are to drop or contaminate them. If possible, don’t candle them unless you absolutely need to, like if you have a suspicion that the embryo’s development isn’t going right.
- Be patient with your eggs so that you don’t make the mistake of discarding viable eggs. Some eggs don’t even show signs of fertility like veins of blood vessels or an air cell in the yolk until a week after incubation. Wait until day 8 to discard eggs that seem unfertilized.
Conclusion
Candling is an extremely important step in the egg incubation process. It’s an excellent way to check on the inside of the egg to ensure that the embryo’s development is healthy and on track. Fortunately, candling chicken eggs is easy, even for beginners.
Again, all you have to do to candle your chicken eggs are home is:
- Prepare the candler with some clay and your handy smartphone flashlight
- Put each egg on the candler and assess its appearance to check for fertile eggs
- Place them back in their incubator and remove any unviable eggs
Hopefully, with careful candling and restraint to keep the eggs undisturbed in their incubator for as long as possible, your eggs will hatch into healthy, adorable baby chicks in a few weeks.
Do you have any more questions about candling chicken eggs? Feel free to leave a comment down below, and we’ll get back to you right away. Happy candling!