Quail may be known as a game bird but it’s actually a phenomenal poultry bird and it can even easily be raised and kept indoors. These tiny gallinaceous birds rarely grow beyond 16 to 18 cm tall (no more than 7 inches) and weigh somewhere between 70 and 140 grams (~5 oz), depending on the breed.
This, together with their highly nutritious and delicious eggs makes quail a great poultry bird to keep for their egg-laying capabilities. Before we can get to that, of course, we first need to hatch a few eggs to get some quail. That is, unless you’ve already bought adult birds from somewhere. Even then, you’d probably want to hatch eggs eventually to keep your flock’s numbers up.
So, let’s talk about incubating and hatching quail eggs – how does it work, what are some of the key Dos and Don’ts, and how can you best take care of your hatchlings? Here’s our complete How-To guide.
How does incubating and hatching quail eggs work?
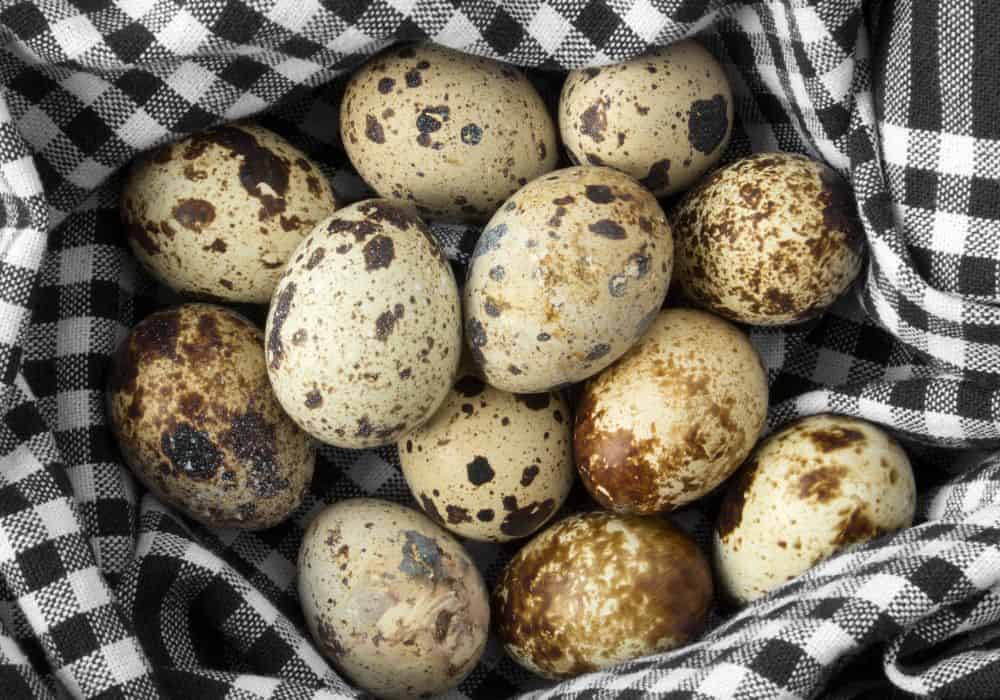
Unlike ducks or chicken eggs, quail eggs are tiny – very much like marbles both in size and in their beautiful spotty appearance. That inherent cuteness has contributed greatly to the rising popularity of quail eggs – so much so that they are viral on social media every other day now. Just look at the cool things people do with quail eggs and you’ll understand why quail keeping has become so popular.
What about incubating and hatching quail eggs so that you could breed more of these awesome birds, however? The good news is that hatching quail eggs is actually easier than you might imagine.
There are some preparations to be made, of course, a bit of investment, as well as a few choices to consider, but, once you get the hang of it, incubating and hatching quail eggs becomes an easy, fun, and rewarding experience.
Find the right quail eggs from the right breeder
The first step of the process is finding quail eggs to hatch. If you’ve already started keeping a quail flock and the hens have laid some fertilized quail eggs, then you can skip that part. For many people, however, choosing the quail breed you want together with doing research for the right breeder to get quail eggs from is the first big step along the way.
Let’s start with the breeds. Most people don’t think about the different quail breeds as much as they do about chickens but there are key differences between the various types of quail, especially in terms of size and behavior. The ones we’d recommend are:
- Bobwhite quails – this is the most commonly kept quail breed in the US, largely because of their mellow and calm personality and good size.
- Blue Scale quails – native to New Mexico, Colorado, and Kansas, Blue Scale quails are rare and gorgeous, as well as quite impressive egg-layers.
- Button quails – very similar to Bobwhites in terms of their laidback personality, Button quails are another great choice.
- California Valley quails – excellent breeders and tremendous egg-layers, preferred by many people who want an optimal egg-laying setup.
- Coturnix quails – famous for their fast growth and small size, Coturnix quails are the go-to for urban homesteaders that don’t have much space to work with.
- Japanese quails – similar to their California Valley cousins, Japanese quails are fantastic egg-layers and regularly produce up to 300 eggs annually per hen.
Once you’ve decided which breed(s) you’re going for, the next crucial part is finding the right breeder near you. We’re not going to give specific recommendations and reviews as these things tend to change over time but the key part is to always check and double-check the reputability of the breeder carefully.
This includes reading through as many reviews as possible and even asking around other quail owners yourself. This is important if you want to make sure that you’ll get healthy eggs that have been bred properly, will be delivered intact, are of the right breed, and will be well-priced.
Prep everything up beforehand – not just the incubator
When you’re looking to start hatching quail eggs, it’s important to set everything up before you’ve even got the eggs. This includes not just the incubator where the eggs would incubate and hatch but also the area you’d put the newly hatched quails too. This is easy to overlook as quails do take a while to hatch, on paper, but that time tends to fly much faster than we often anticipate.
A quail chick setup can look in many ways but the basics should always be there – proper proportions, easy to clean, safe for the chicks, right temperature and humidity, and so on. Here’s a cool video showing one easy way to make a quail chick setup at home.
And, let’s go over the different things you should consider one by one:
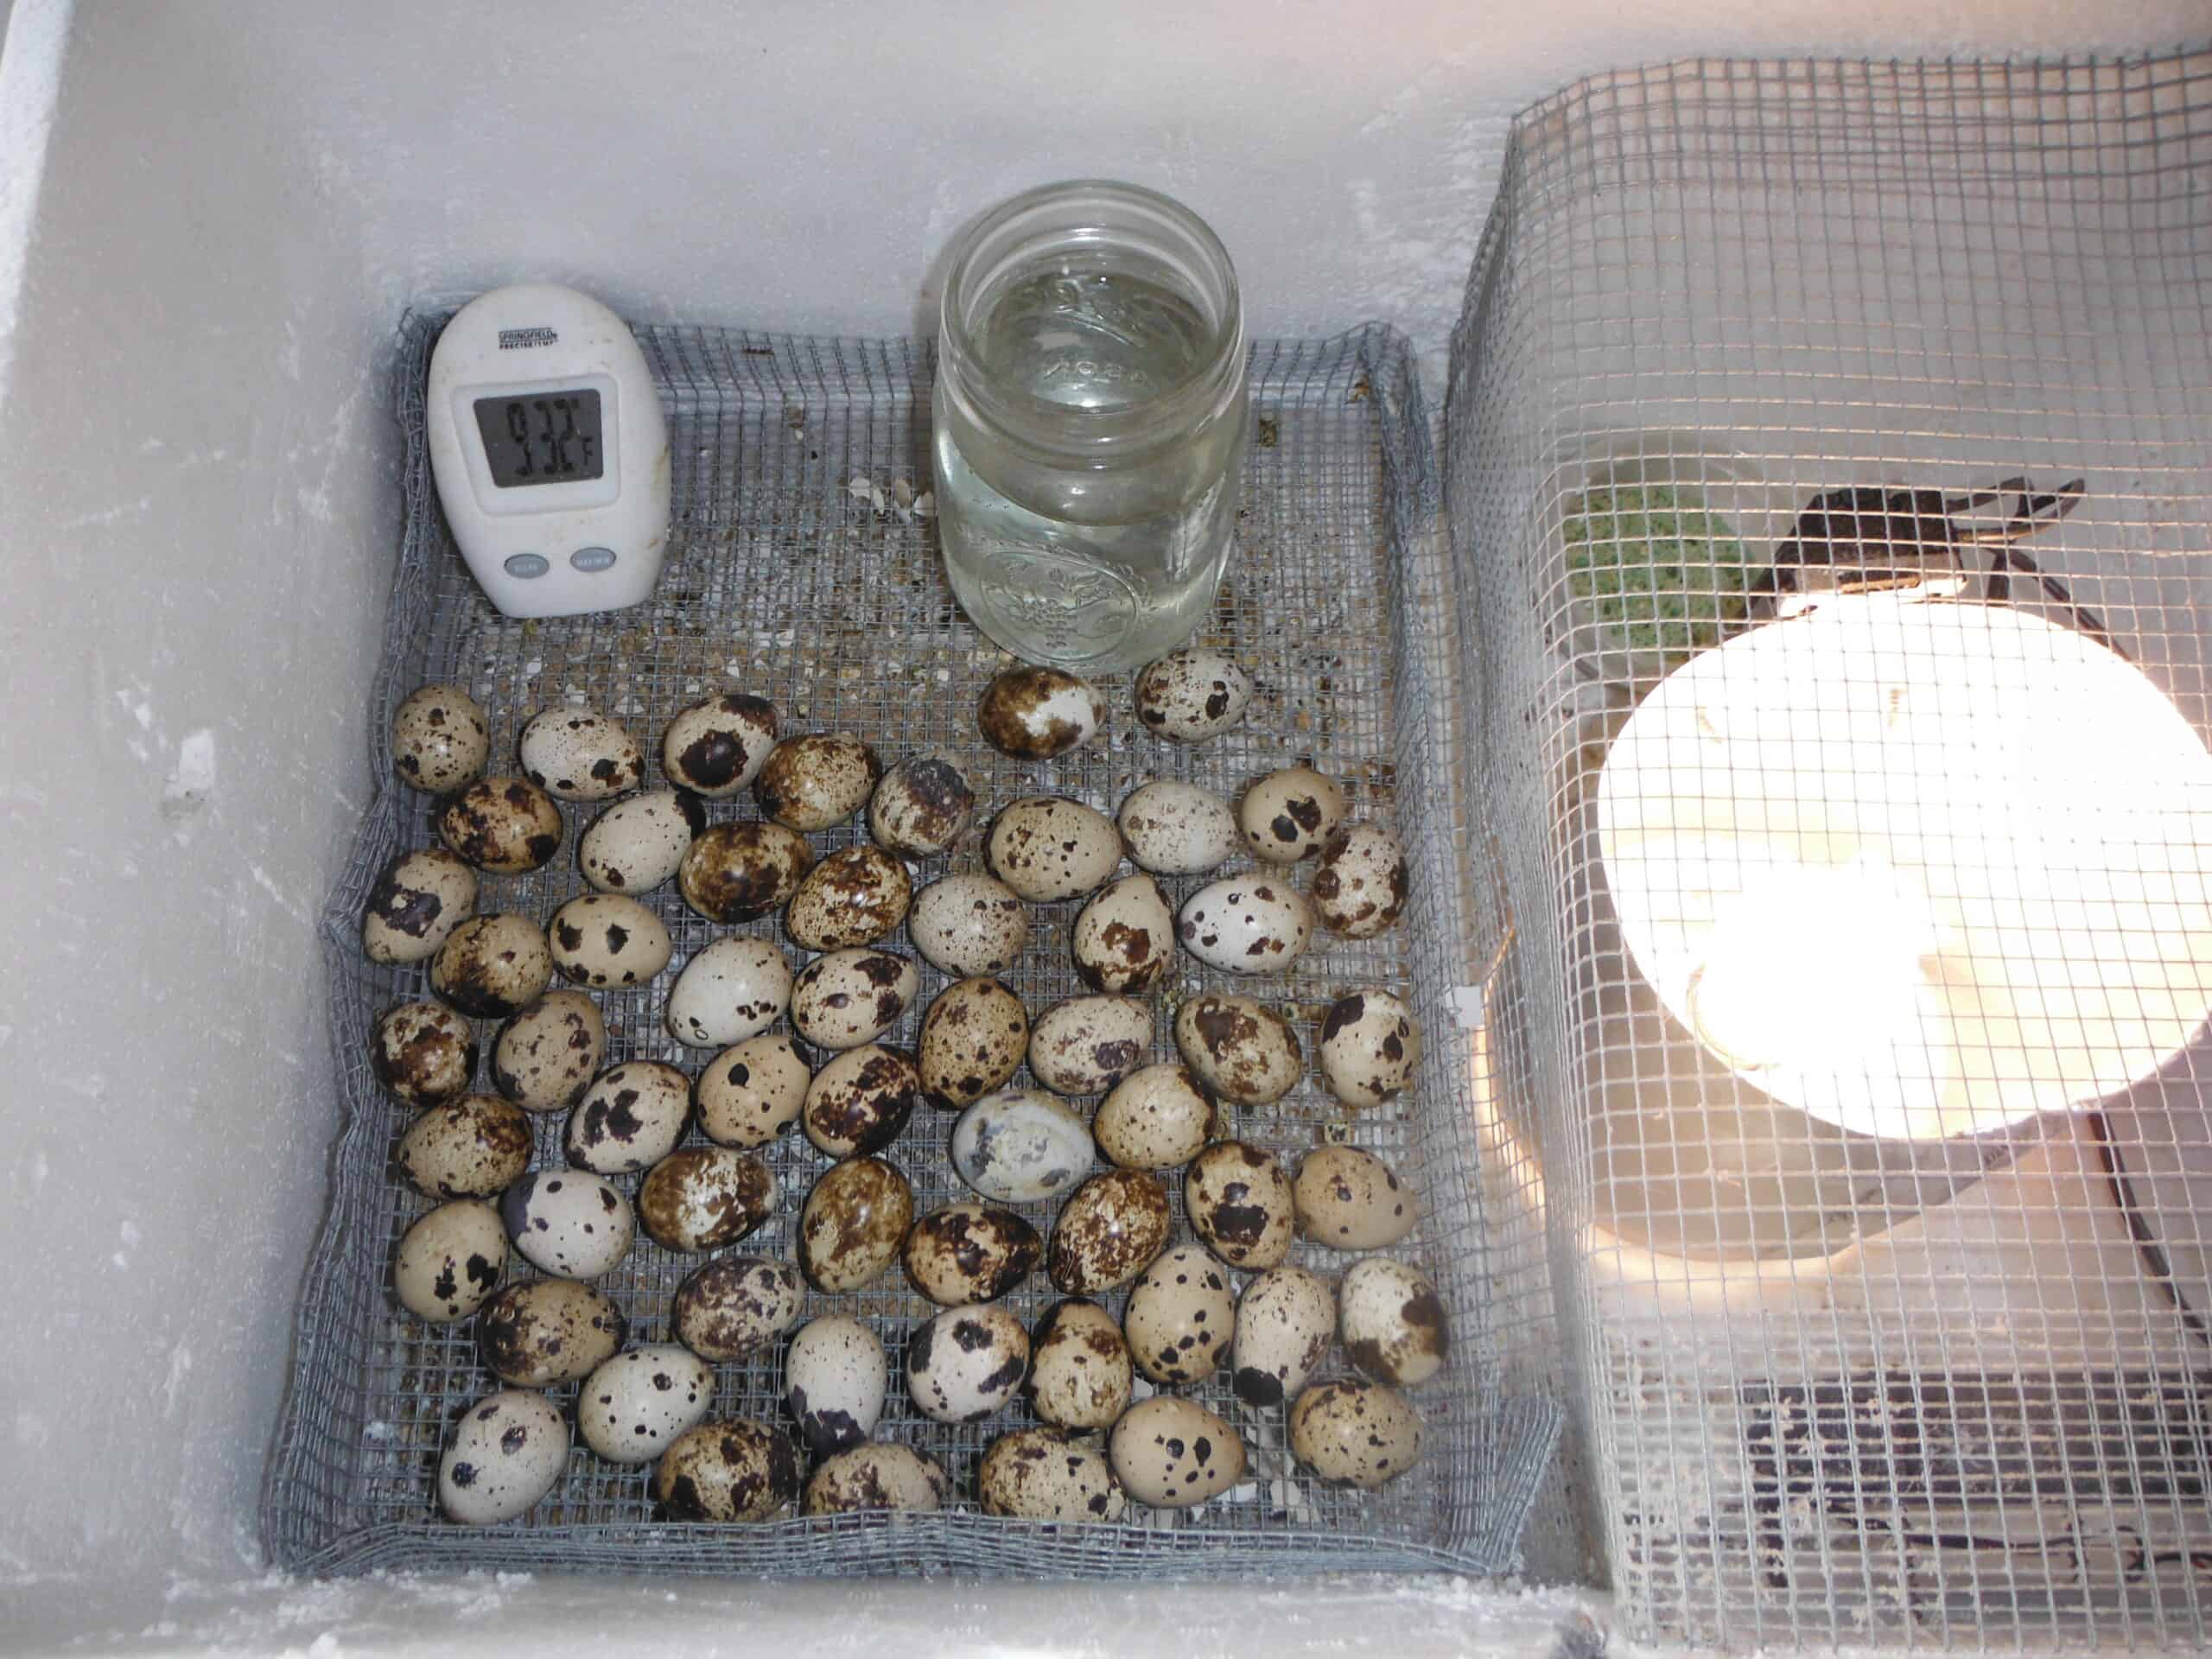
- Quails take between 16 and 18 days of incubation to hatch, depending on the breed and the individual chick, so, your setup should be 100% ready by then.
- The ideal temperature for incubating quail eggs is 99.5oF or 37.5oC – that’s the temperature a mother hen brooder maintains while hatching her eggs personally.
- The relative humidity should be between 40% and 50% – anything above or below these humidity levels can easily be fatal for the quail embryos inside the eggs.
- If you’re using an incubator, you should plug it in and maintain the right temperature for at least 24 hours before putting the eggs in it – this is crucial to make sure that the incubator and its thermometer are working properly both during the day and overnight.
- Once the eggs have hatched, your setup should maintain a relative humidity of 65% to 70%.
- Make sure the hatchery receives some sunlight for at least a few hours a day. Quails – both babies and adults – need sunlight to grow healthy and happy.
- Move the quail chicks from the incubator and into the hatchery once their feathers have dried from the egg yolk. It’s ok to leave them in the incubator for a few hours after they have hatched and even overnight as they won’t be hungry right away and the environment in the incubator should be all right for them at first anyway.
- Make sure that you clean the flooring of the hatchery regularly and/or that it has a grate for the chicks’ excrements to fall through. This is important as you don’t want your quail chicks rolling in feces or mixing their food with them. What’s more, baby chicks will try to peck at literally anything they see at first and you don’t want them to do that with feces. Plus, chick manure makes for a great garden fertilizer.
- Add a fan to the hatchery to help you maintain the right humidity levels, especially if you live in a particularly high-humidity climate.
- If you have an automatic egg turner for your incubator, make sure it has the correct size rails or racks for such small eggs.
- Consider using a ceramic heat lamp for the hatchery as those don’t affect the day/night cycle of the quail hatchlings as well as light heat lamps.
- Add two separate sections of the hatchery – one kept warm with a heat source such as a heat lamp and one that’s a bit closer to room temperature. This way, the hatchlings can switch from one room to the other depending on how they feel like.
- Monitor the hatchlings’ behavior for various abnormalities regularly. This includes things such as – are they huddled together (they are too cold), are they panting and too spread out (they are too hot), are they eating their gamebird starter feed (if not, spread it on the floor and tap on it with your finger), are they drinking their water (if not, add a couple more small water pans around the hatchery and point the birds to them), and so on.
- Make sure the water pans are as shallow as possible so that the hatchlings would be safe around them. Baby quails are much smaller than baby chicks and can easily drown in water on accident.
- Decide between vaccination or medicated feed – both can be viable options but choosing either one or the other is a must if you want to protect your quail chick birds from dangerous pathogens. If you are going to keep your quail chicks with a hen you should pick vaccination over a medicated feed as both shouldn’t be used together and you don’t want your adult hen eating a medicated chick starter feed.
- Pick a high-quality gamebird chick starter feed – it should be high in protein as well as vitamins and other minerals. Also, if you’re hatching a smaller breed of quails such as Coturnix, you might want to grind the starter feed a bit more so that it’s not too big for them.
- Be extra vigilant during the first week so that you can spot any potential health issues as early as possible – look at the chicks’ behavior, their walking and vocal abilities, the health of their feathers, and so on.
Choose between a broody hen and an incubator – The pros and cons of each
Broody hen
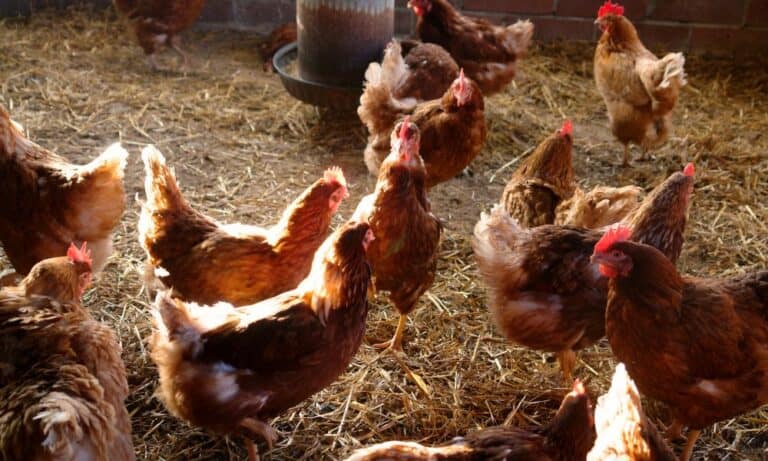
The big choice for hatching quail eggs is whether to incubate them with a mother hen or an incubator. If you have a broody hen, including a chicken, you can absolutely use her to incubate your quail eggs. Chickens will readily incubate quail eggs if they are feeling broody and they are great at the job as they can maintain the right temperature and conditions over many eggs at the same time.
The big con of incubating with a chicken, however, is that you’d need to remove the quail chicks from underneath the hen as soon as they have hatched. That’s because a chicken is substantially larger and heavier than a quail hen is supposed to be and she can accidentally harm the tiny quail chicks by stepping on them.
The risk isn’t all that high, however, so, as long as you take a look at the hen and the hatchlings every once in a while, everything should be fine. Quail eggs hatch rates are much faster than those of chickens too, so it’s not as much work for the chicken. And, if you have quail hens, the whole process becomes even simpler as that’s the more natural and easier approach than using an incubator.
Incubator
All that being said, hatching eggs with an incubator is also a perfectly viable way to go nowadays as long as you’ve got the right machine for the job. There are different types of incubators too and we’d recommend a forced draught incubator as the top option, followed by still-air incubators.
Forced draught incubators work are easier to use and safer for the eggs. That’s because they use fans to maintain the right temperature and humidity at all times. This makes them much more reliable, especially if there is variation in the day and night temperatures or when you open the incubator from time to time.
Of course, a good still-air incubator can work just as fine, you’ll just need to be more careful with the temperature and humidity levels. You’d also like need to turn the eggs manually as most still-air incubators don’t do that on their own. Eggs should typically be turned every two or three hours.
Whichever incubator you choose (or if you’re using a hen), you should always keep a watchful eye over the eggs. It’s also recommended to do a thorough inspection of all the eggs on day 14, candle them, and remove the cracked, infertile, or dead eggs so that they don’t interfere with the hatching of the healthy ones.
In conclusion
Hatching quail eggs is an incredibly rewarding experience and is also surprisingly easy once you get the hang of it. Whether you want to start a small homestead quail breeding business or you’re just doing it for yourself, however, it needs to be done well so that the quail hatchlings grow to be as healthy as possible.