Are you hoping to breed chickens? If so, you’ll need to know how to hatch them. There are a couple of ways to do this, and you need to follow the steps carefully if you want to welcome perfect little chicks into the world.
Here we’ll talk you through those steps along with looking at what you need, the pros and cons of each method, and some tips for successful hatching. By the end, you’ll know exactly what you need to go from fertilized eggs to healthy chicks. Let’s go!
Should I Use an Incubator or a Broody Hen?
There are two main options when it comes to hatching chicken eggs. You can either go down the natural route and let a hen sit on the eggs or you can use an incubator. Both methods have their pros and cons which we’ll look at here.
Pros of Using an Incubator
An incubator may seem like an expensive option but you can pick one up fairly cheaply. Here’s why they can be a great idea.
- Higher Hatching Rate – With an incubator, you’ll have a much higher chance of success. There are many things that can go wrong when a hen lays on an egg, but an incubator is a much more controlled environment.
- Constant Temperature – With an incubator, you know that the temperature will be constant and exactly where you need it to be. While a hen will try her best, she can’t offer the same constant level of heat.
- More Control – Here you’ll get more control over the whole process. You can check to see if an egg is at the right stage, and easily discard any that haven’t fertilized. With a broody hen, you often need to just hope it’s all going to plan.
- Less Stressful for Hens – A broody hen can get herself into poor health when laying eggs. In some extremes, she’ll stop eating and drinking. Using an incubator means your hen never needs to go through this.
- Don’t Need to Worry About Broody Hens – Some chicken breeds aren’t broody, which means they have no interest in sitting on eggs. If your hens are like this, then you’d need to find a surrogate hen if you didn’t have an incubator.
- Chicks Are Less Vulnerable – Once your chicks have hatched in the incubator, they’ll need to be moved to the brooder. In the coop, they’d be more vulnerable to illnesses and parasites while also being vulnerable to small predators, such as rats.
- No Stopping Production – When a hen becomes broody, she’ll stop laying and producing eggs. If you don’t allow them to be broody then she’ll continue to lay eggs.
Pros of Using a Broody Hen
While many like the idea of using an incubator, others prefer to use a broody hen to incubate and raise chicks. This can have several different advantages, so let’s look at them.
- More Natural – Many love the idea of just letting nature take its course. The hen has a natural instinct to turn her eggs and knows how to keep them warm and at the right level of humidity.
- No Electricity – Perhaps the biggest advantage of the natural method is that you don’t need to worry about the cost of an incubator or the power to run it. Added to that, with an incubator you also have the fear of losing power and therefore losing all your baby chicks.
- Chick Isn’t Alone – With an incubator, you need to place them in a brooder for around eight weeks and then integrate them into the flock. You also have the chance of one chick hatching and being left on its own.
- Chick Will Be Taught by The Hen – When done naturally, the hen will provide guidance to the chicken and ensure that it learns how to feed itself. Instead, you need to put this work in when using an incubator.
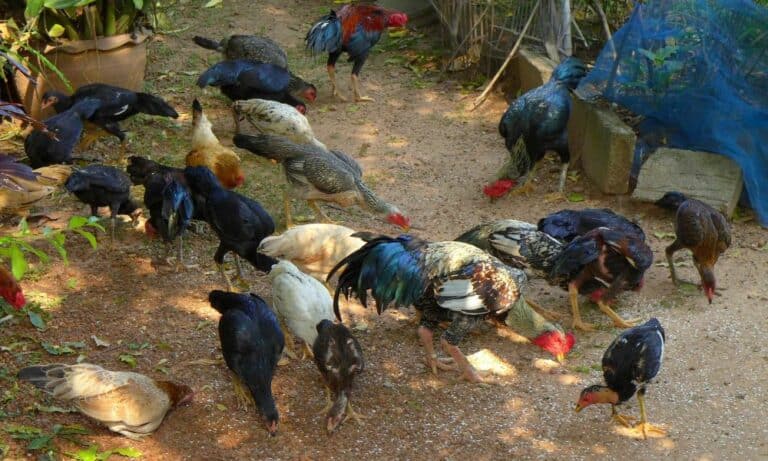
- No Trouble Accepting Them – Sometimes when you try to integrate new chickens into your flock, it can be difficult. When born naturally, the new chicks will be accepted straight away.
- Not As Time Intensive – Simply put, using the natural method the hen is going to do all the work. With an incubator, you need to do all the work.
Choosing an Incubator
Okay, so you want to go down the incubator route. The next step is choosing which incubator to use. You can get them relatively cheaply but there are a few key features that you’ll need to look out for.
- Heater – This is very obvious, but the very basic incubators will just be a heater that is meant to keep the eggs at a constant temperature. All incubators will come with a heater, but some will be more efficient and stable than others.
- Fan – One of the best ways to maintain a consistent temperature across the eggs is for the incubator to contain a fan. This will ensure stability in the temperature and prevent there being any hot or cold spots.
- Turner – You’ll want to find an incubator that automatically turns the eggs. If it doesn’t, then you’ll need to do this manually at least five times a day. It’s easy to forget, so get an incubator that will do it for you.
- Humidity – Getting the right humidity is extremely important for high hatch rates. You can check this yourself but it’s much easier to get an incubator where you can add water and let it regulate humidity automatically.
- Candling Light – This is not a must-have but can be a nice added feature. A candling light will allow you to see into the egg to check whether or not an embryo is forming or not. This can prevent you from wasting time trying to incubate eggs that are never going to hatch.
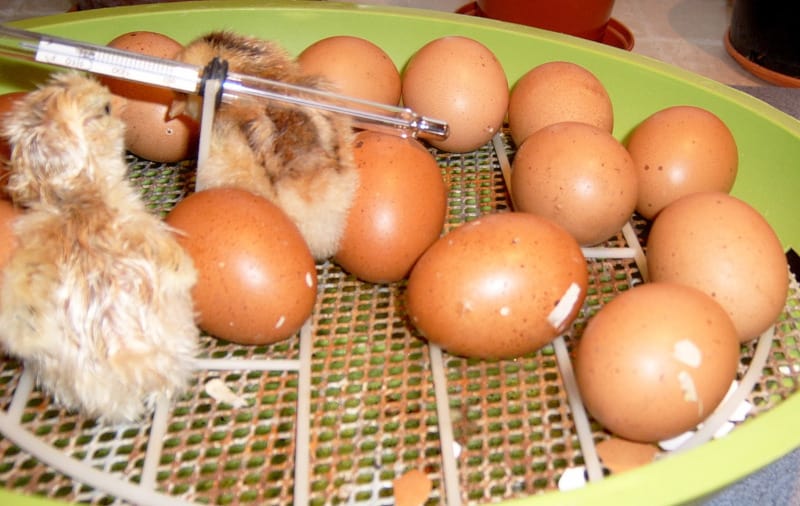
How To Use an Incubator
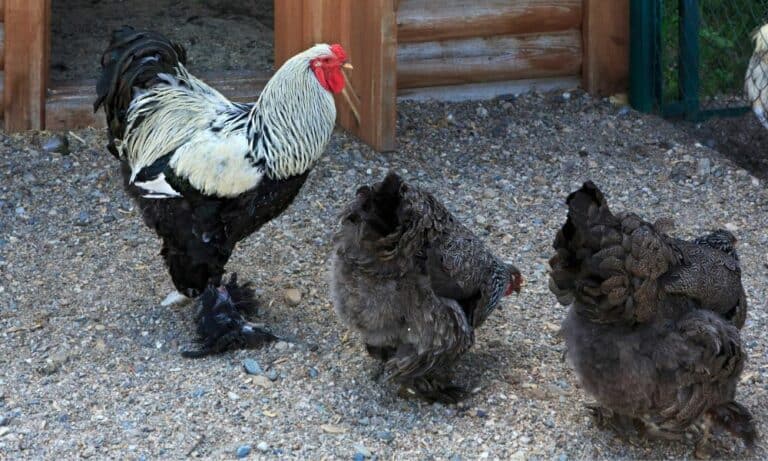
Once you have your incubator, how do you use it? Let’s first start off with a point that may be obvious to some but perhaps not to others. You can only hatch chickens from fertilized eggs. Eggs will only be fertilized if there is a rooster with your hens.
If you don’t have a rooster, then any eggs your hens lay will be incapable of producing chicks. Have a rooster? There’s a good chance all the eggs will be fertilized. Don’t have a rooster? You can usually buy fertilized eggs from a local breeder or, of course, you can buy a rooster.
If you have fertilized eggs (or at least think you do) let’s see how to incubate them.
Temperature
If you have even a half-decent incubator, then you don’t have to worry about temperature as it will do the work for you. The temperature should be set at 99.5F (37.5C) and it stays like this for the full 21 days it takes to hatch an egg.
After approximately seven to ten days, it makes sense to candle your eggs. This is where you simply shine a bright light under them when in a darkened room. Here you should be able to see the small embryo along with blood vessels.
If, after ten days, you either see a red ring or it’s completely clear, then it’s likely that the embryo has died or it was never fertilized in the first place. Either way, you should discard the egg as it won’t be hatching.
Humidity and Ventilation
While the temperature never changes, the humidity does. For the first 18 days, it doesn’t have to be exact but should be in the region of 40% to 50%. It’s easiest to have an incubator that can check humidity, which is called a hygrometer.
The last three days are commonly referred to as lockdown. Here you’ll want to increase the humidity to 65% to 70%. This helps to signal to the eggs that hatching time is nearly upon us as you await your new chicks.
You’ll also want to ensure that air is freely flowing in and out of the incubator. Despite it looking sealed, oxygen can pass through the egg, and it needs oxygen to thrive. Without ventilation, you will suffocate the eggs.

Turning
The eggs need to be turned almost constantly. A hen will instinctively do his herself but with an incubator, either you need to do it or buy an incubator that will automatically do it for you. The latter will always be preferable.
The yolk has a habit of rising to the top of the shell, but you want the embryo to be resting on top of the yolk. Turning helps to ensure this but it also has the added side benefit of preventing the chick from sticking to the shell.
If you don’t have an automatic turner, then you should do this at least five times per day. It’s recommended to be an odd number as this ensures that you don’t leave it on the same side for two nights in a row.
It’s also advisable to mark the shell (an ‘X’ and an ‘O’ is easiest) so you don’t get confused about what side the egg was laying on. If you don’t turn eggs properly, then it can drastically increase the risk of birth defects.
Lockdown
It’s an overly dramatic name but the last three days of hatching time (from day 19 to 21) is called lockdown. At the end of day 18, you should increase the humidity, turn off the automatic turner and leave your eggs alone.
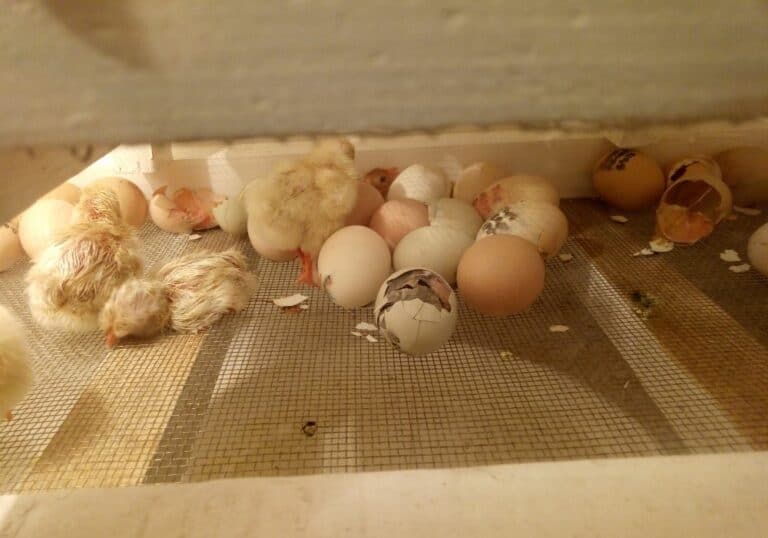
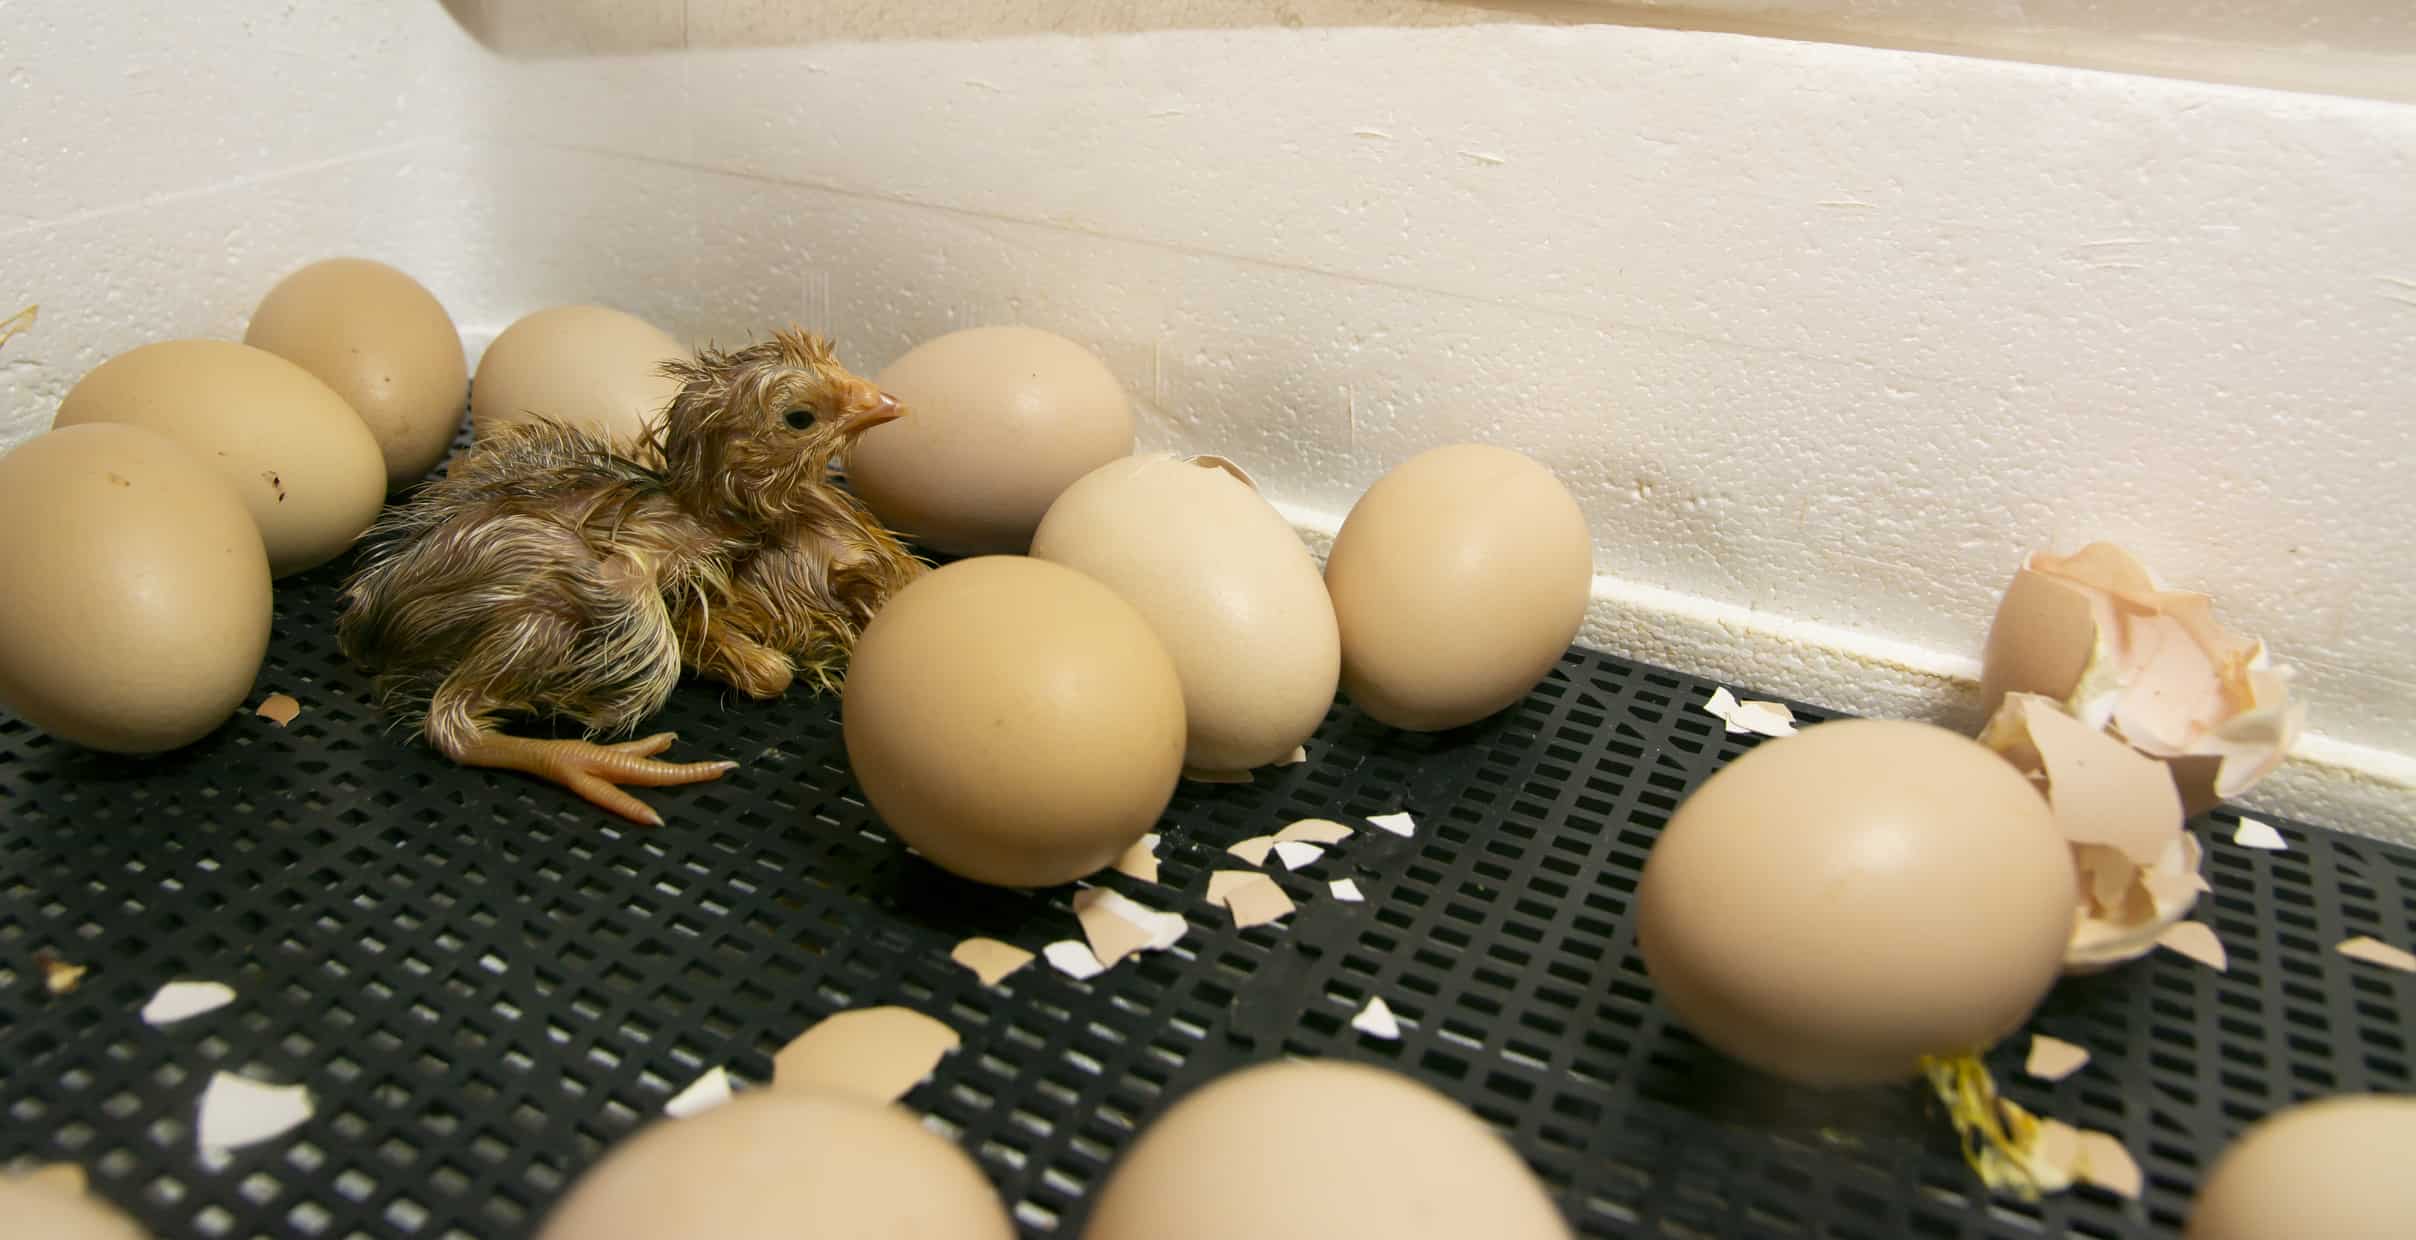
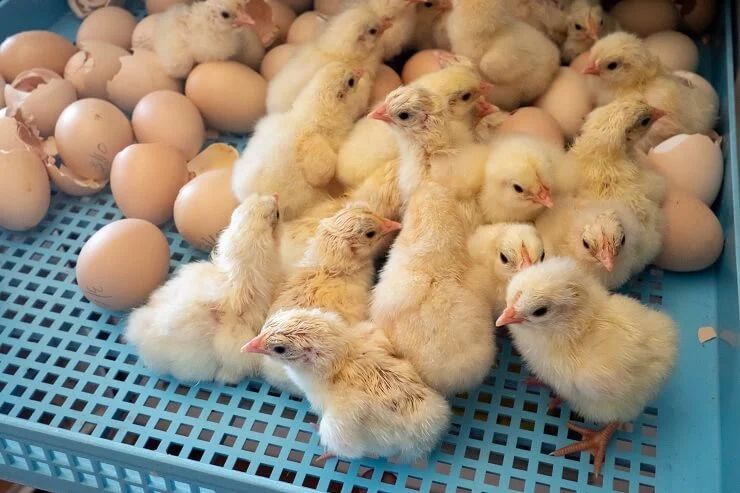
Your chicks will be fully formed and will be getting their last load of nutrients before breaking through the egg, which is called pipping. You shouldn’t intervene in the pipping process unless they are in distress. It can take a chick 24 hours or more to break through.
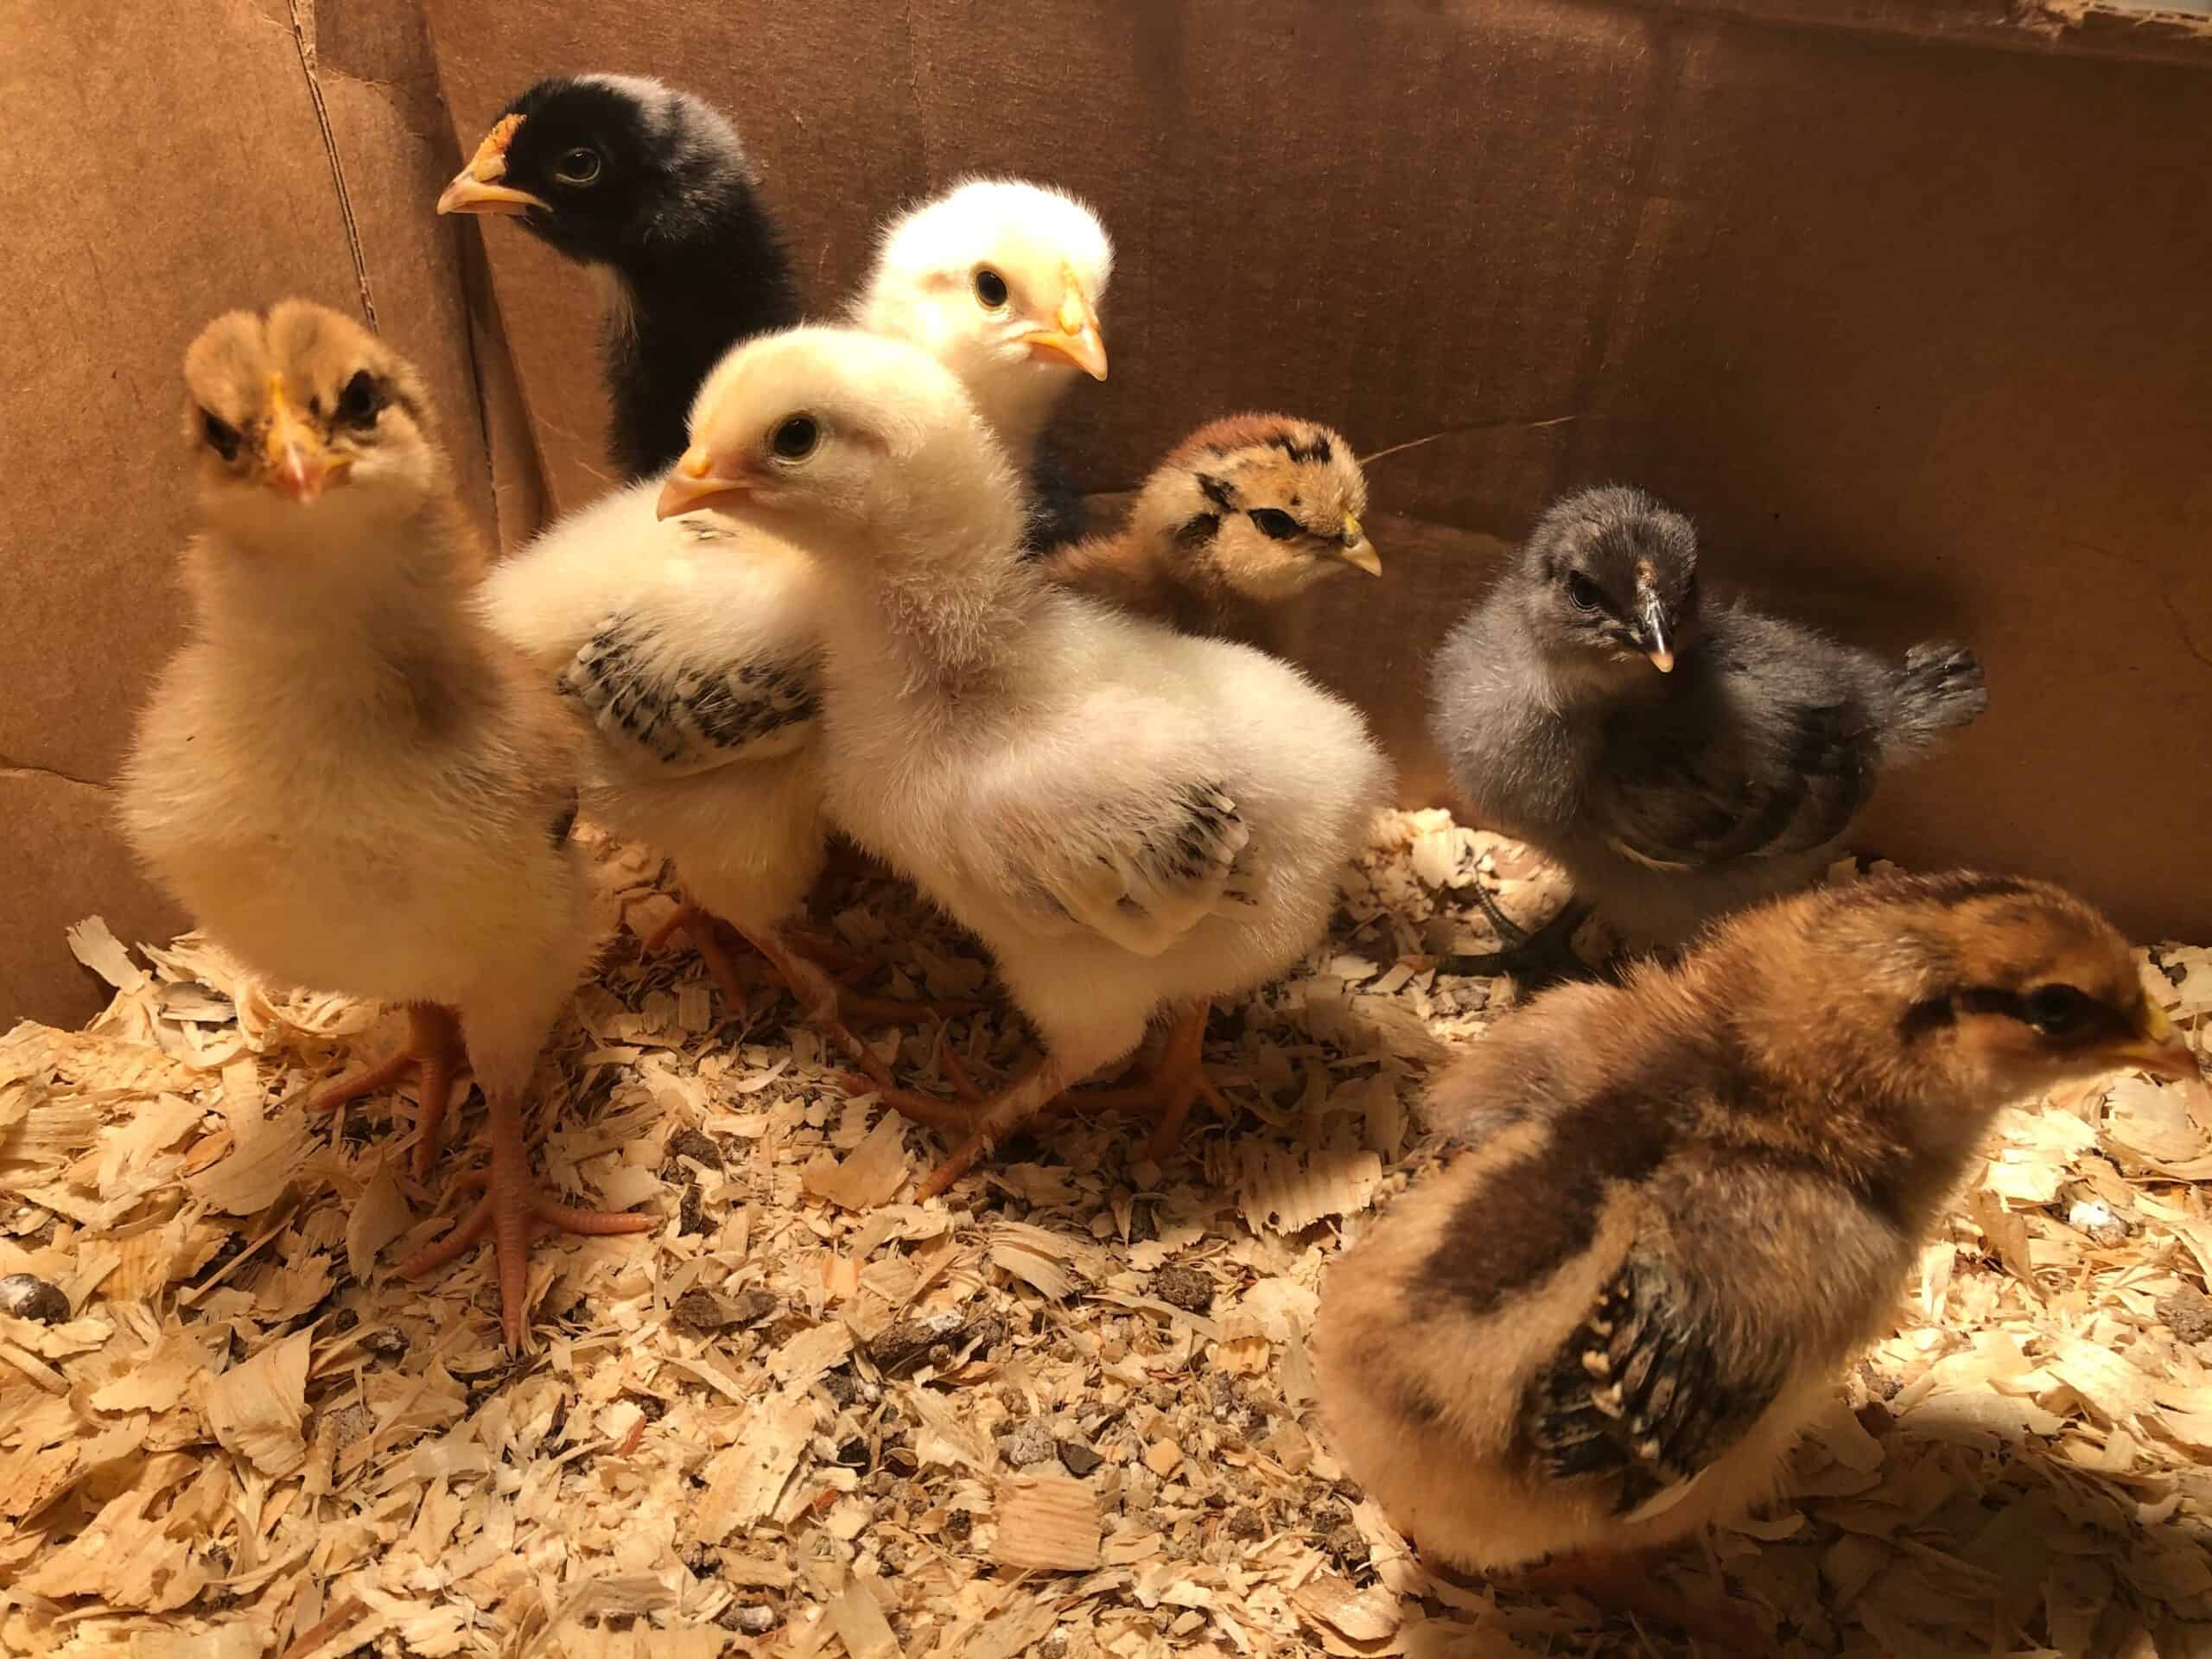
You can leave the chick in the incubator for up to three days after they’ve hatched without food but most people take them out after one or two. It’s best to leave them in the incubator (with a little water) until all the eggs are hatched and then move them into the brooder.
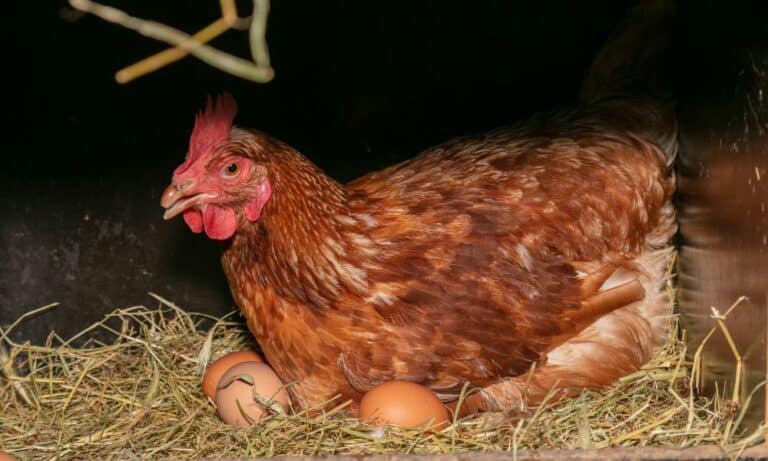
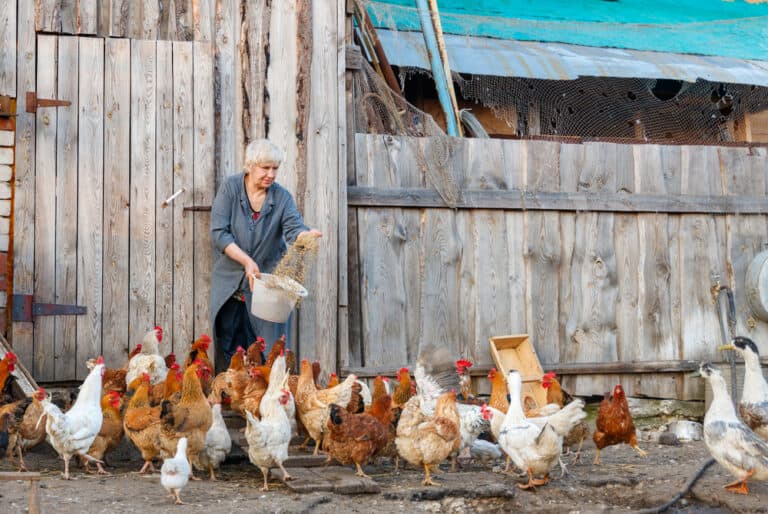
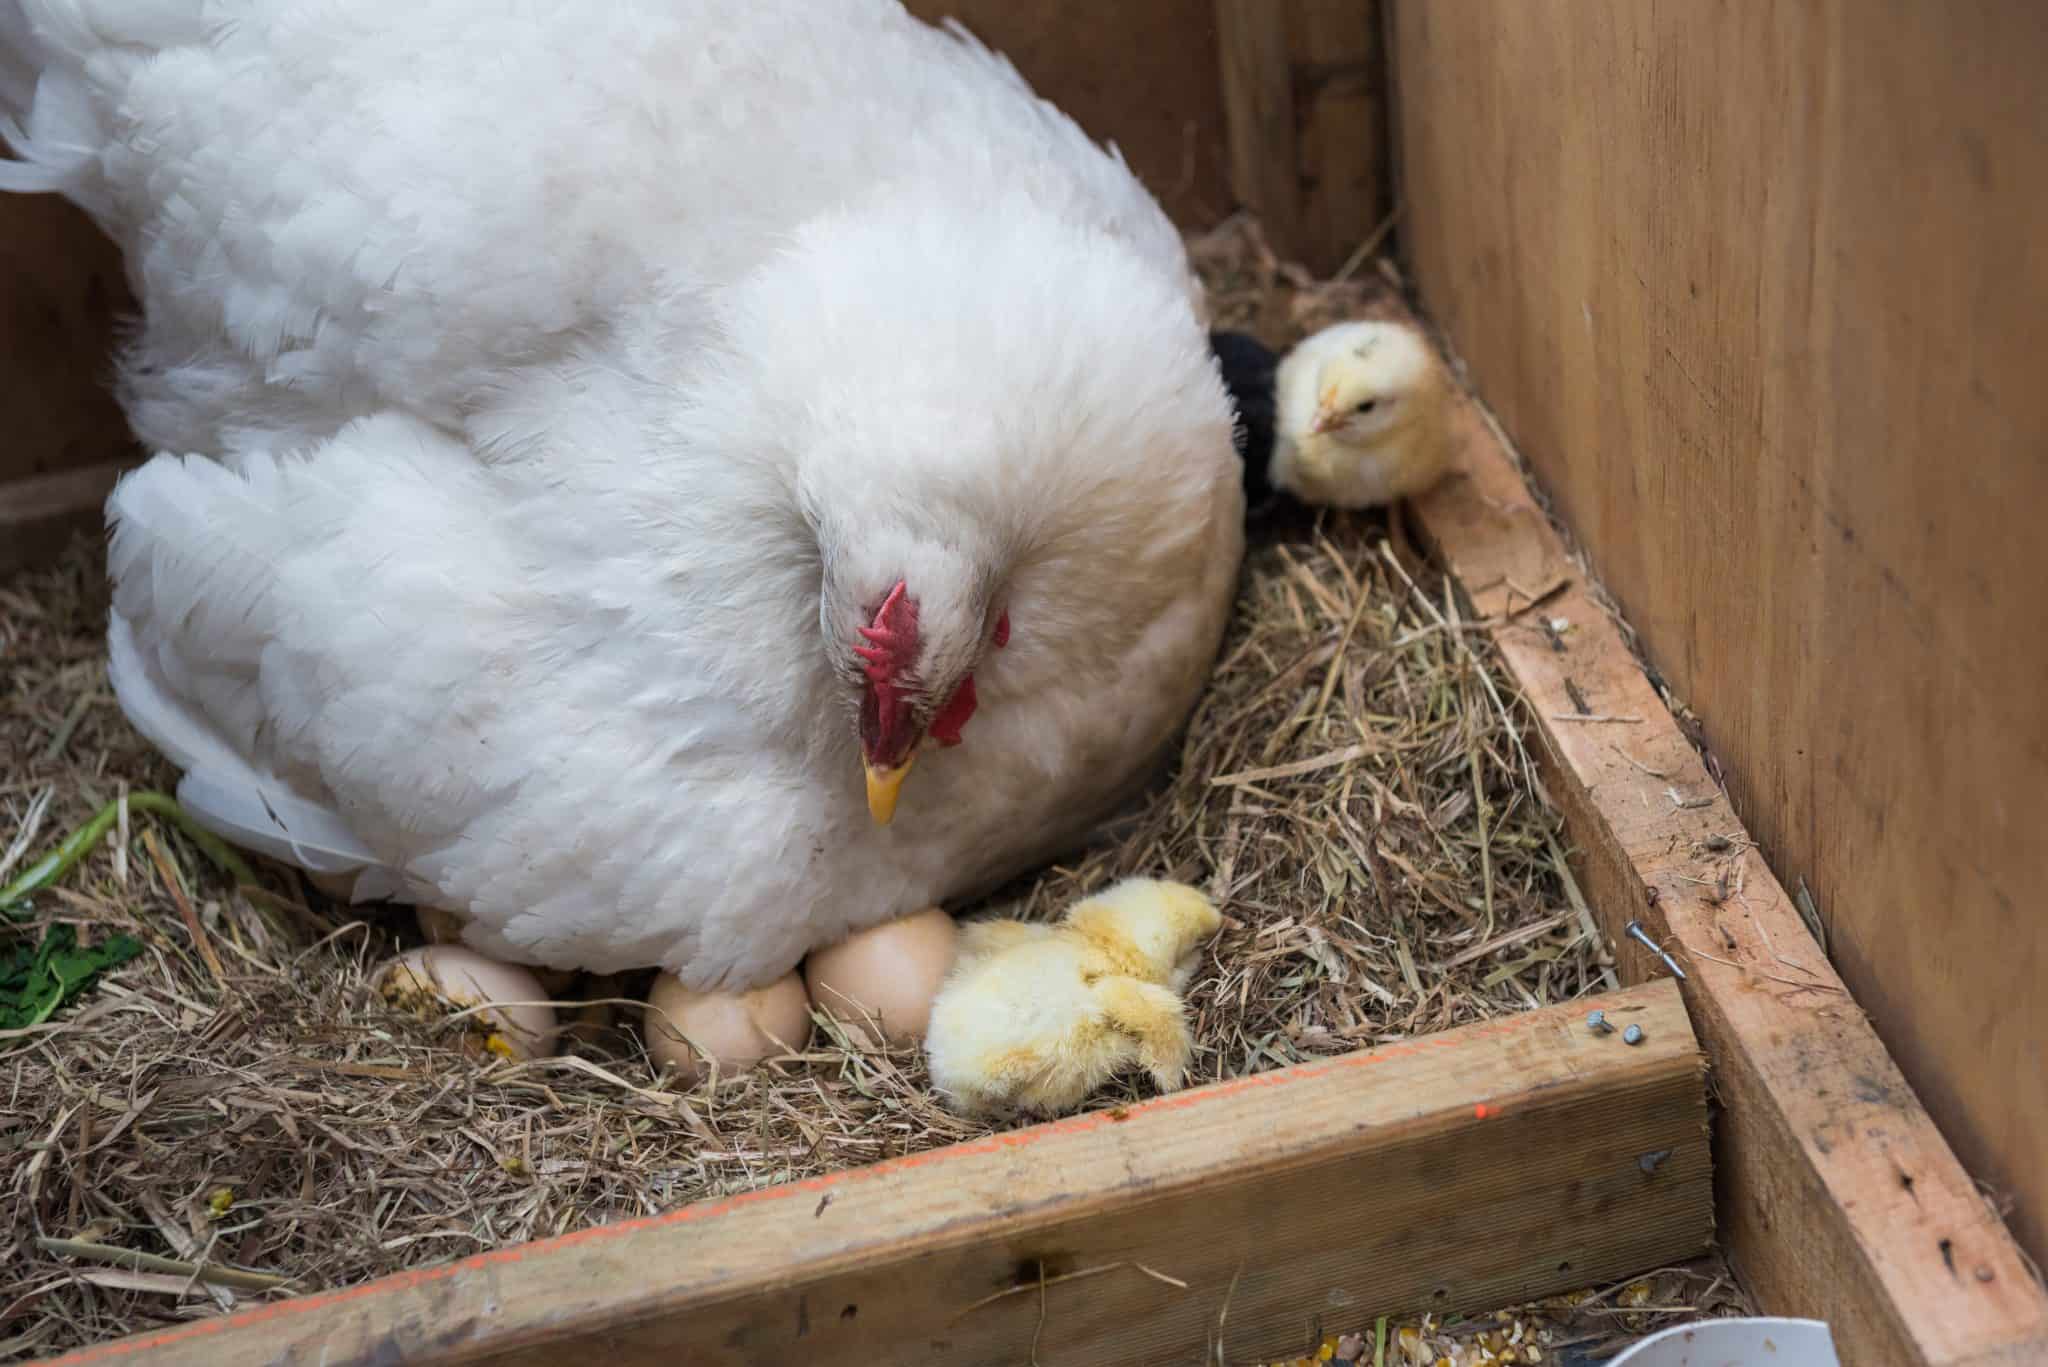
How to Use a Broody Hen
If you have a hen that goes broody, then there are two ways to hatch eggs. You can either simply use a hen to hatch her own eggs, or you can use a broody hen to hatch the eggs from another breed of chicken, which she’ll then raise as her own.
Here are a few tips if you’re going down the natural route:
- Use Fake Eggs – For those using a broody hen to hatch eggs that aren’t hers, it’s a good idea to check her broodiness with fake eggs. If she happily lays on them, you can swap them out for fertilized eggs to start the incubation process.
- Date Them – If it’s not too much of a disturbance, date the eggs from when they were laid so you don’t lose track of when they should hatch. This will also allow you to find out which eggs haven’t developed and need to be thrown away.
- Candle Them – As above, candling an egg after seven days will allow you to see if an embryo has formed. There is no point in your hen sitting on eggs that are never going to hatch.
- Feed Her on the Nest – Some hens will quickly run out of their nesting box to get some food and water, whereas others hardly ever leave and starve themselves. A way to get around this is just by feeding your hen where she lays.
- Remove Unhatched Eggs – If there are still unhatched eggs four days after the first one came out, then they almost certainly won’t hatch at all and should be removed. You can always candle them to double-check.
- Feed Everyone Chick Food – Don’t bother trying to separate their feed. Chicks need high-protein feed so just feed that to your hen as well. So won’t need any calcium yet and the chick feed won’t do her any harm.
Conclusion
Hatching eggs can be a wonderfully rewarding experience. The best advice is to just relax and be patient. It can be tempting to be overly fussy about the process but just follow the steps and let nature take its course. You’ll soon be left with a clutch of beautiful baby chicks.